Originally published in Museum Mosaic 2025, published May 2026.
Part of our annual review. Descriptions reflect the publication’s reporting period.
From the 2025 edition of Museum Mosaic. Explore the complete published feature.
Originally published in Museum Mosaic 2025, published May 2026.
Part of our annual review. Descriptions reflect the publication’s reporting period.
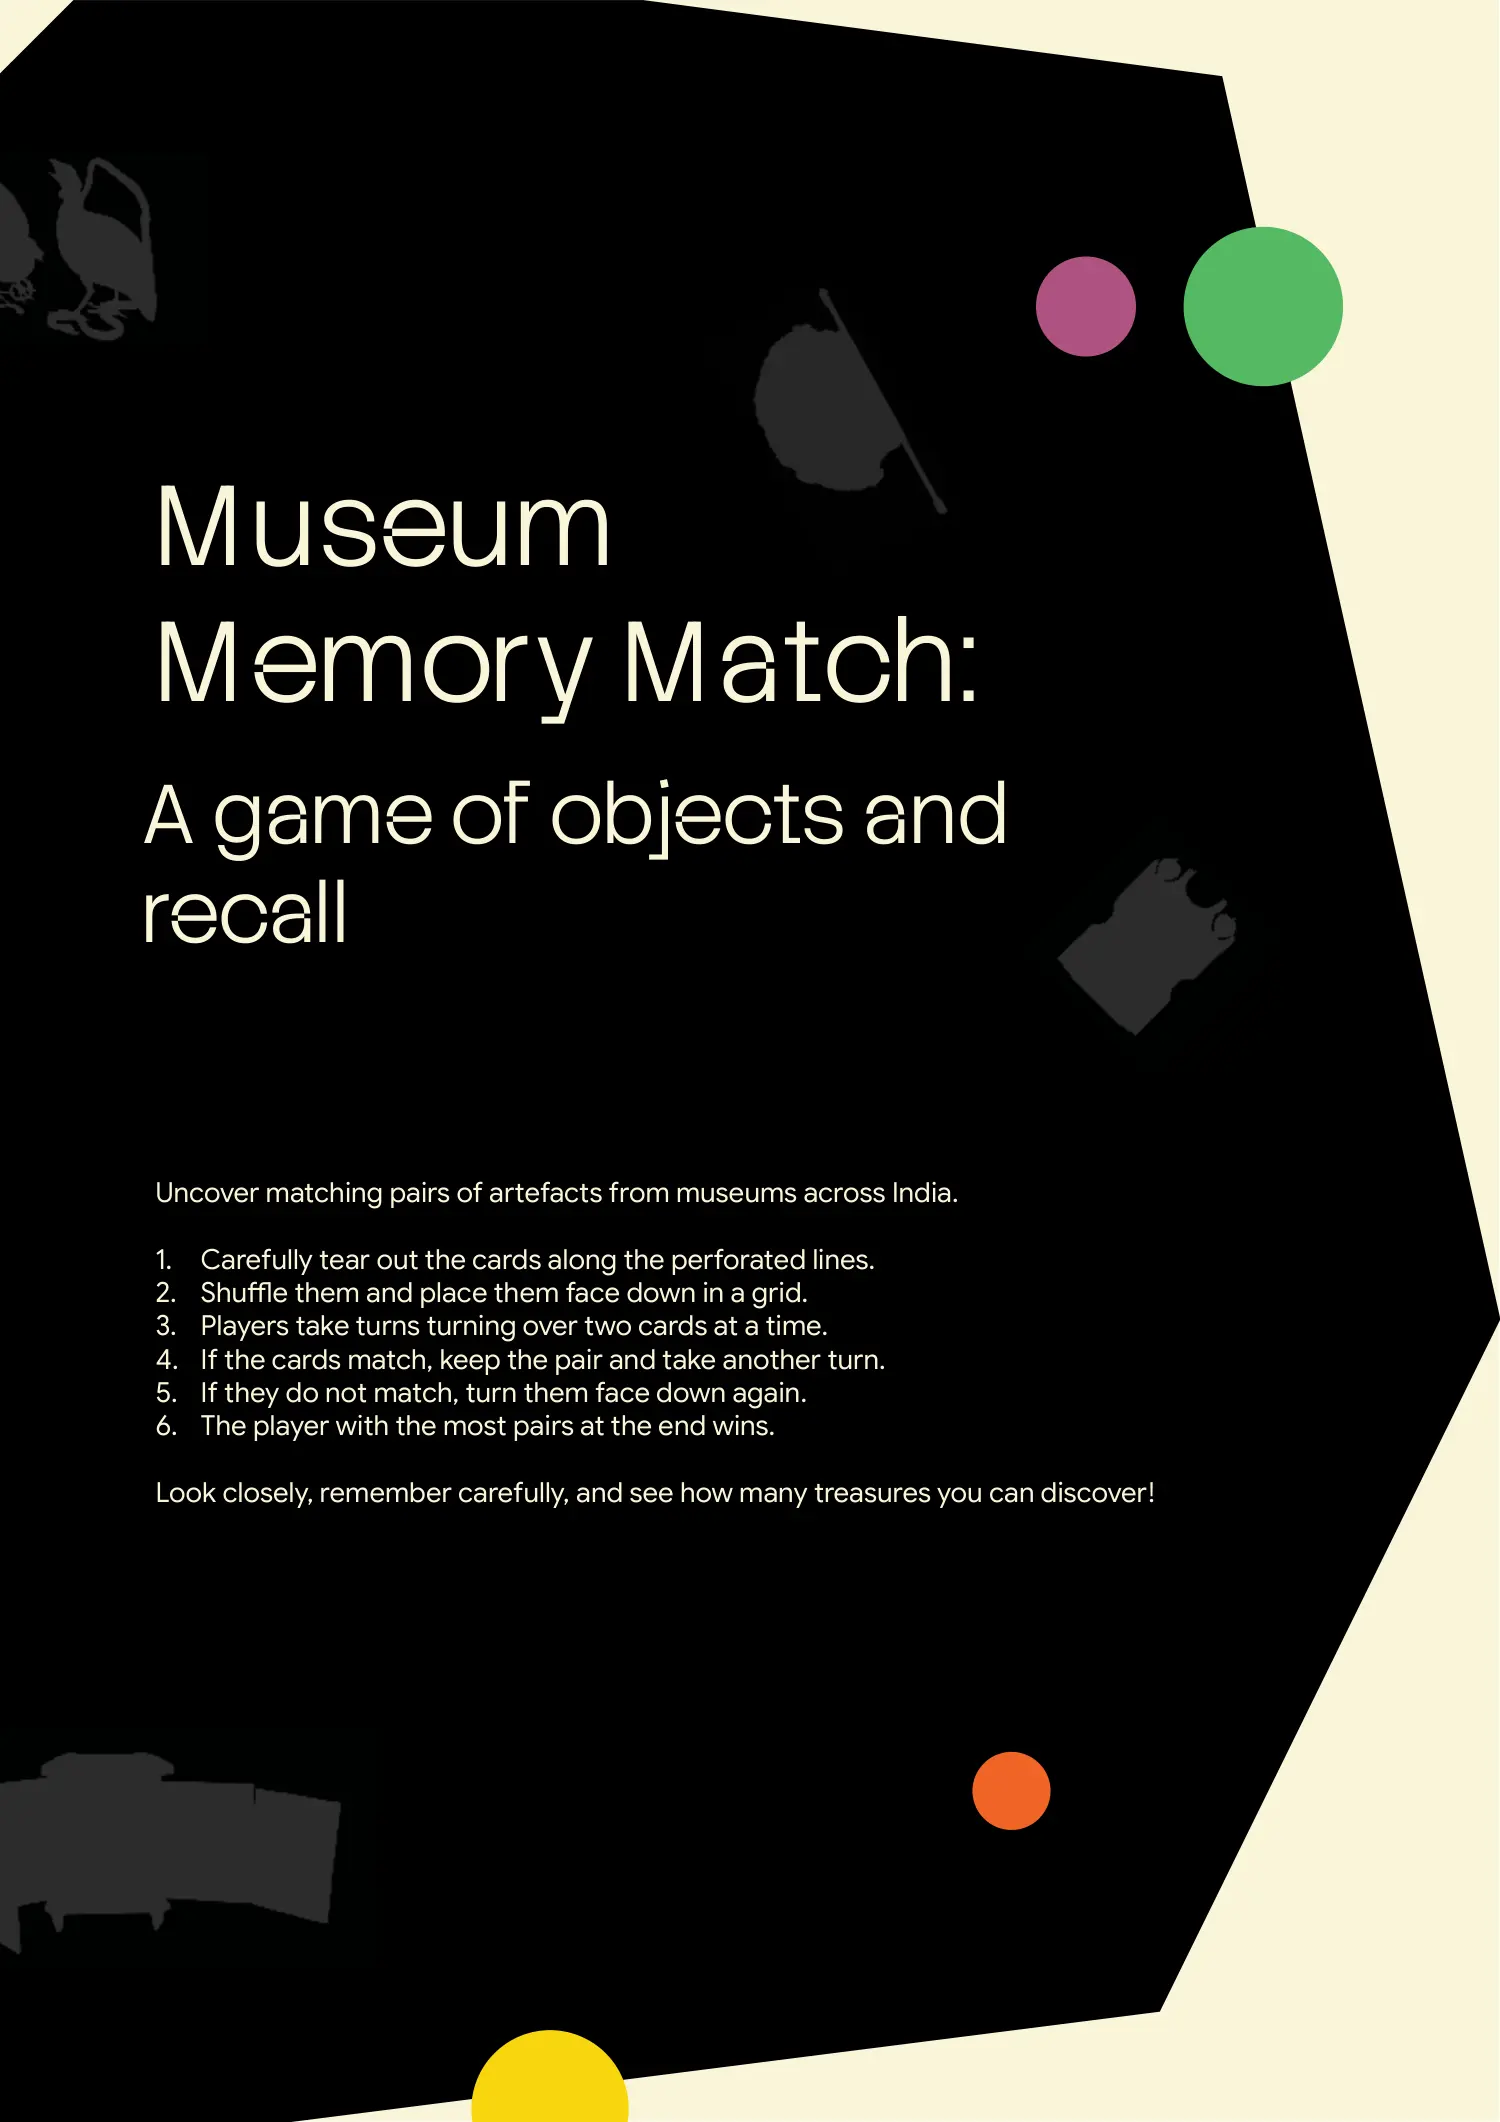
From the 2025 edition of Museum Mosaic. Explore the complete published feature.
2025 edition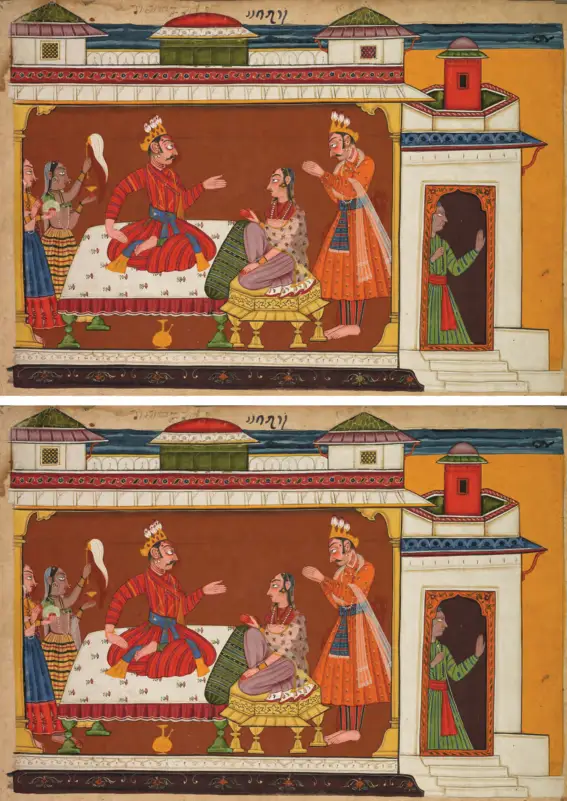
From the 2024 edition of Museum Mosaic. Explore the complete published feature.
2024 edition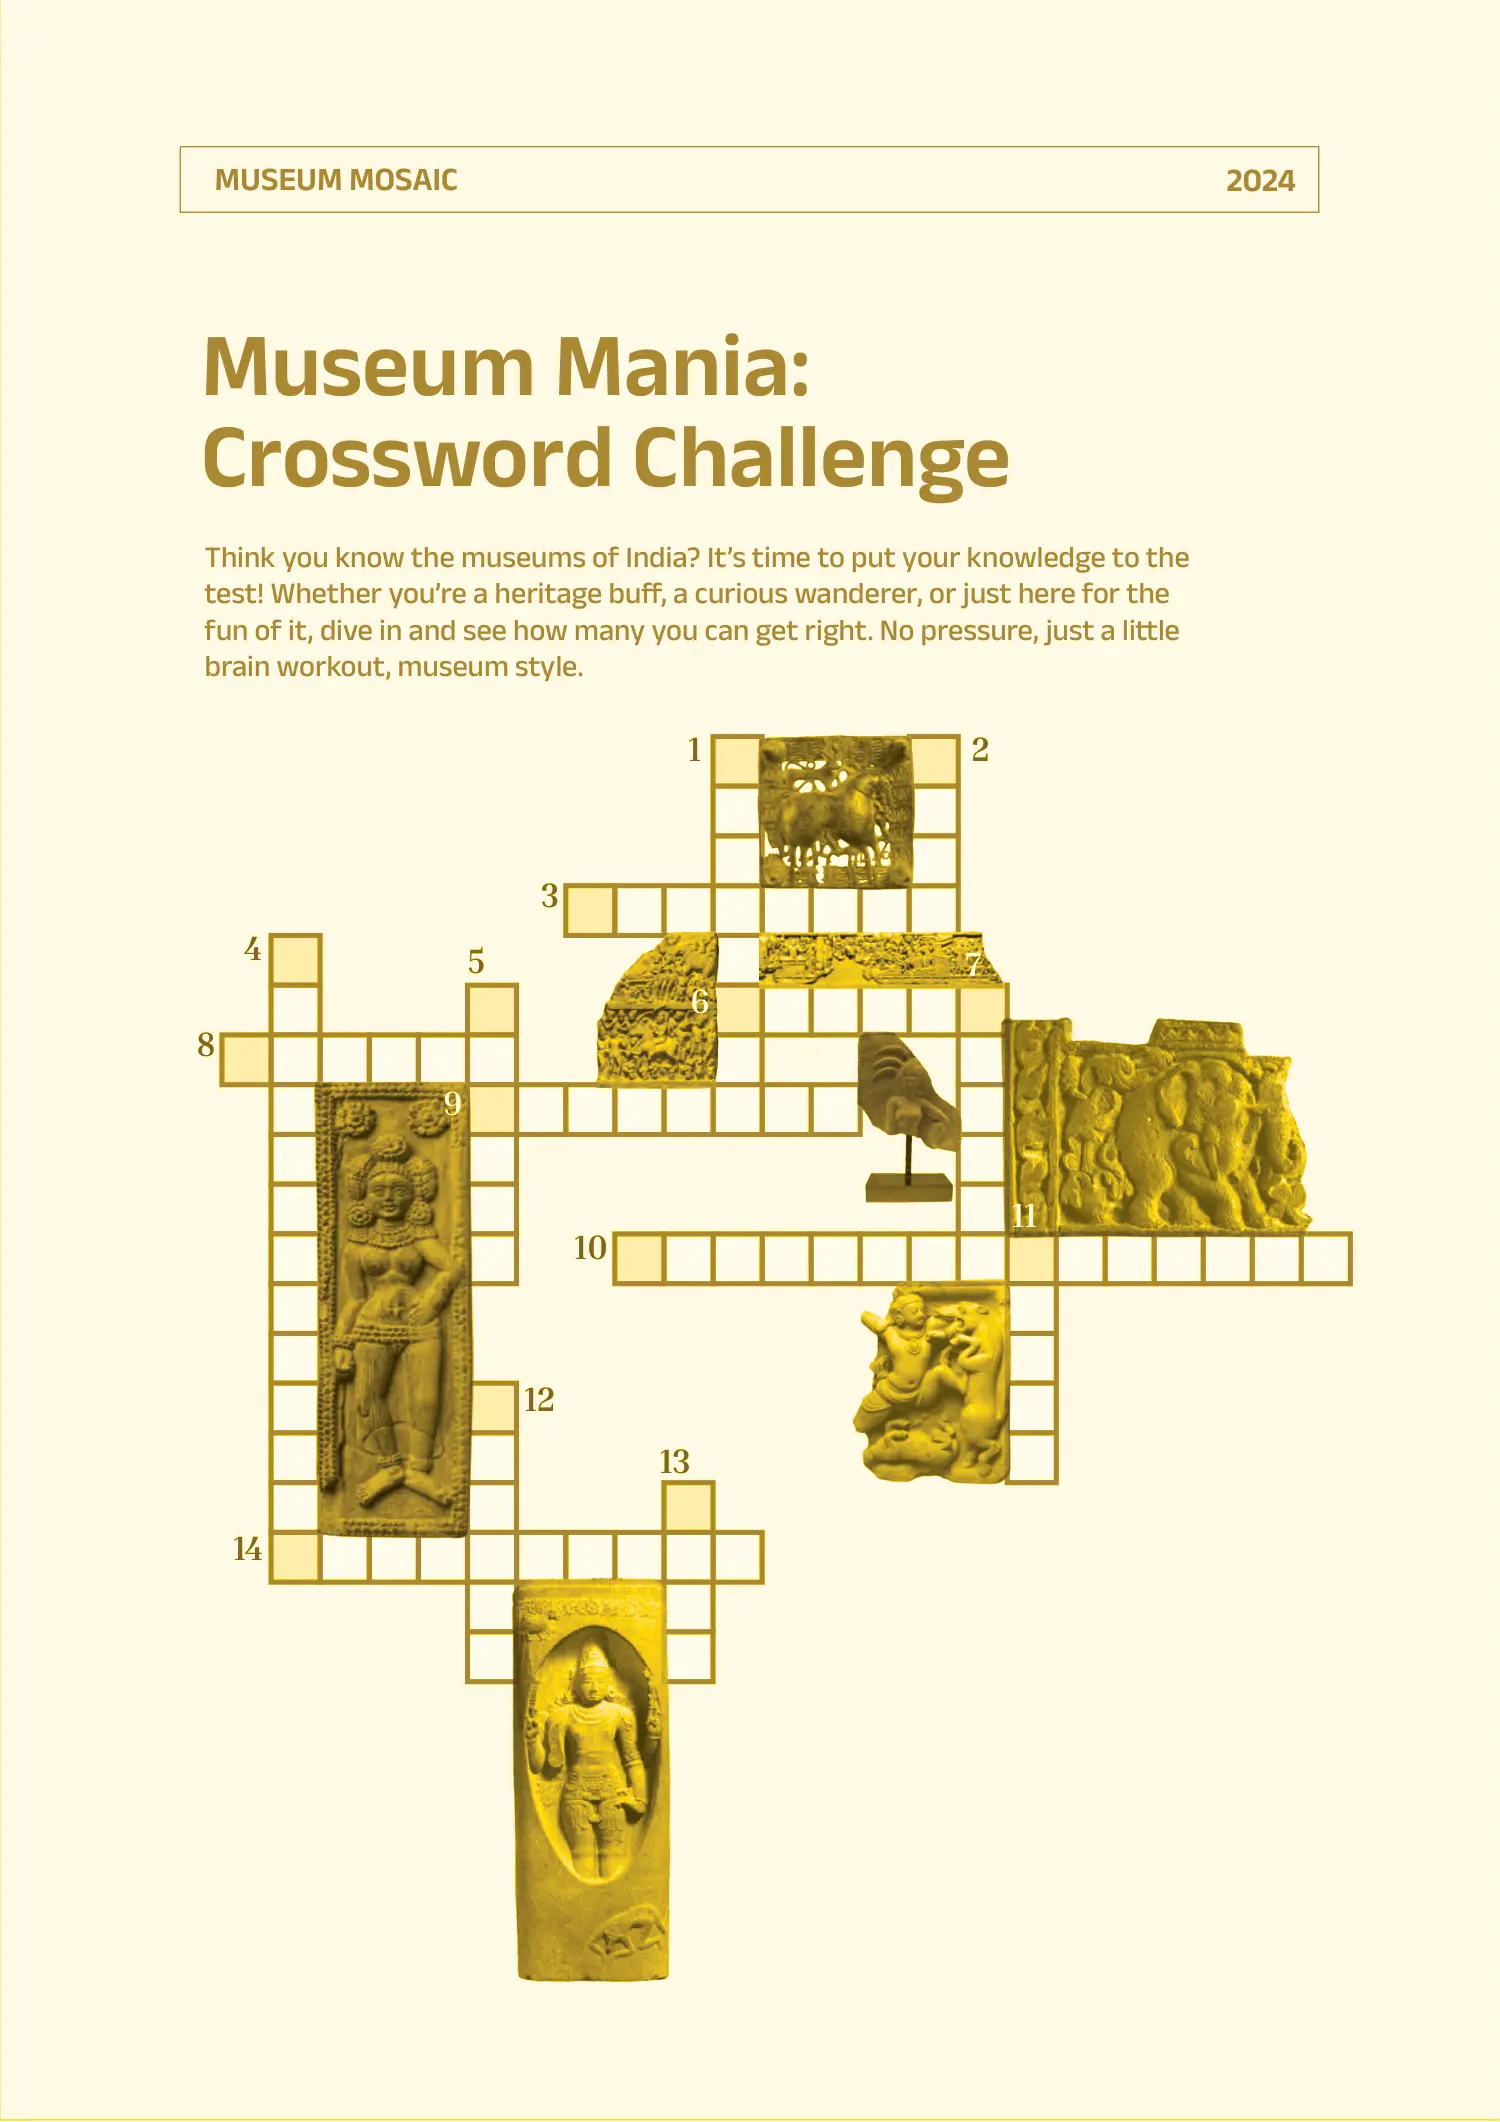
From the 2024 edition of Museum Mosaic. Explore the complete published feature.
2024 edition