Shah Umair
Numismatist and Heritage Walk Leader
In Michael H. Hart’s well-known book, The 100: A Ranking of the Most Influential Persons in History, Gautama Buddha is frequently placed in the top five. He is acknowledged for establishing a religion and philosophy that have influenced the lives of hundreds of millions. After his death in the 5th century BCE, his remains were divided into eight parts and given to various groups, including the Sakyas of Kapilavastu, the Licchavis of Vaishali, and the Mallas of Kushinagar. One part was buried in a stupa near Nepal's borderlands at Piprahwa, across the plains of Siddharthnagar in Uttar Pradesh. This stupa, dating to the early centuries after Buddha's death, traces its origin to Kushinagar.
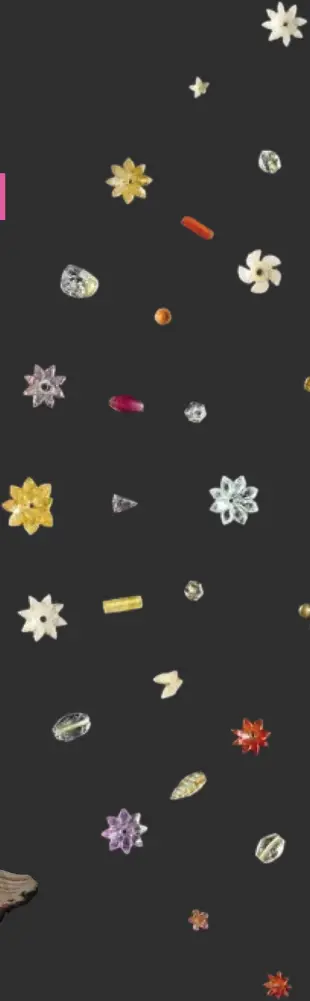
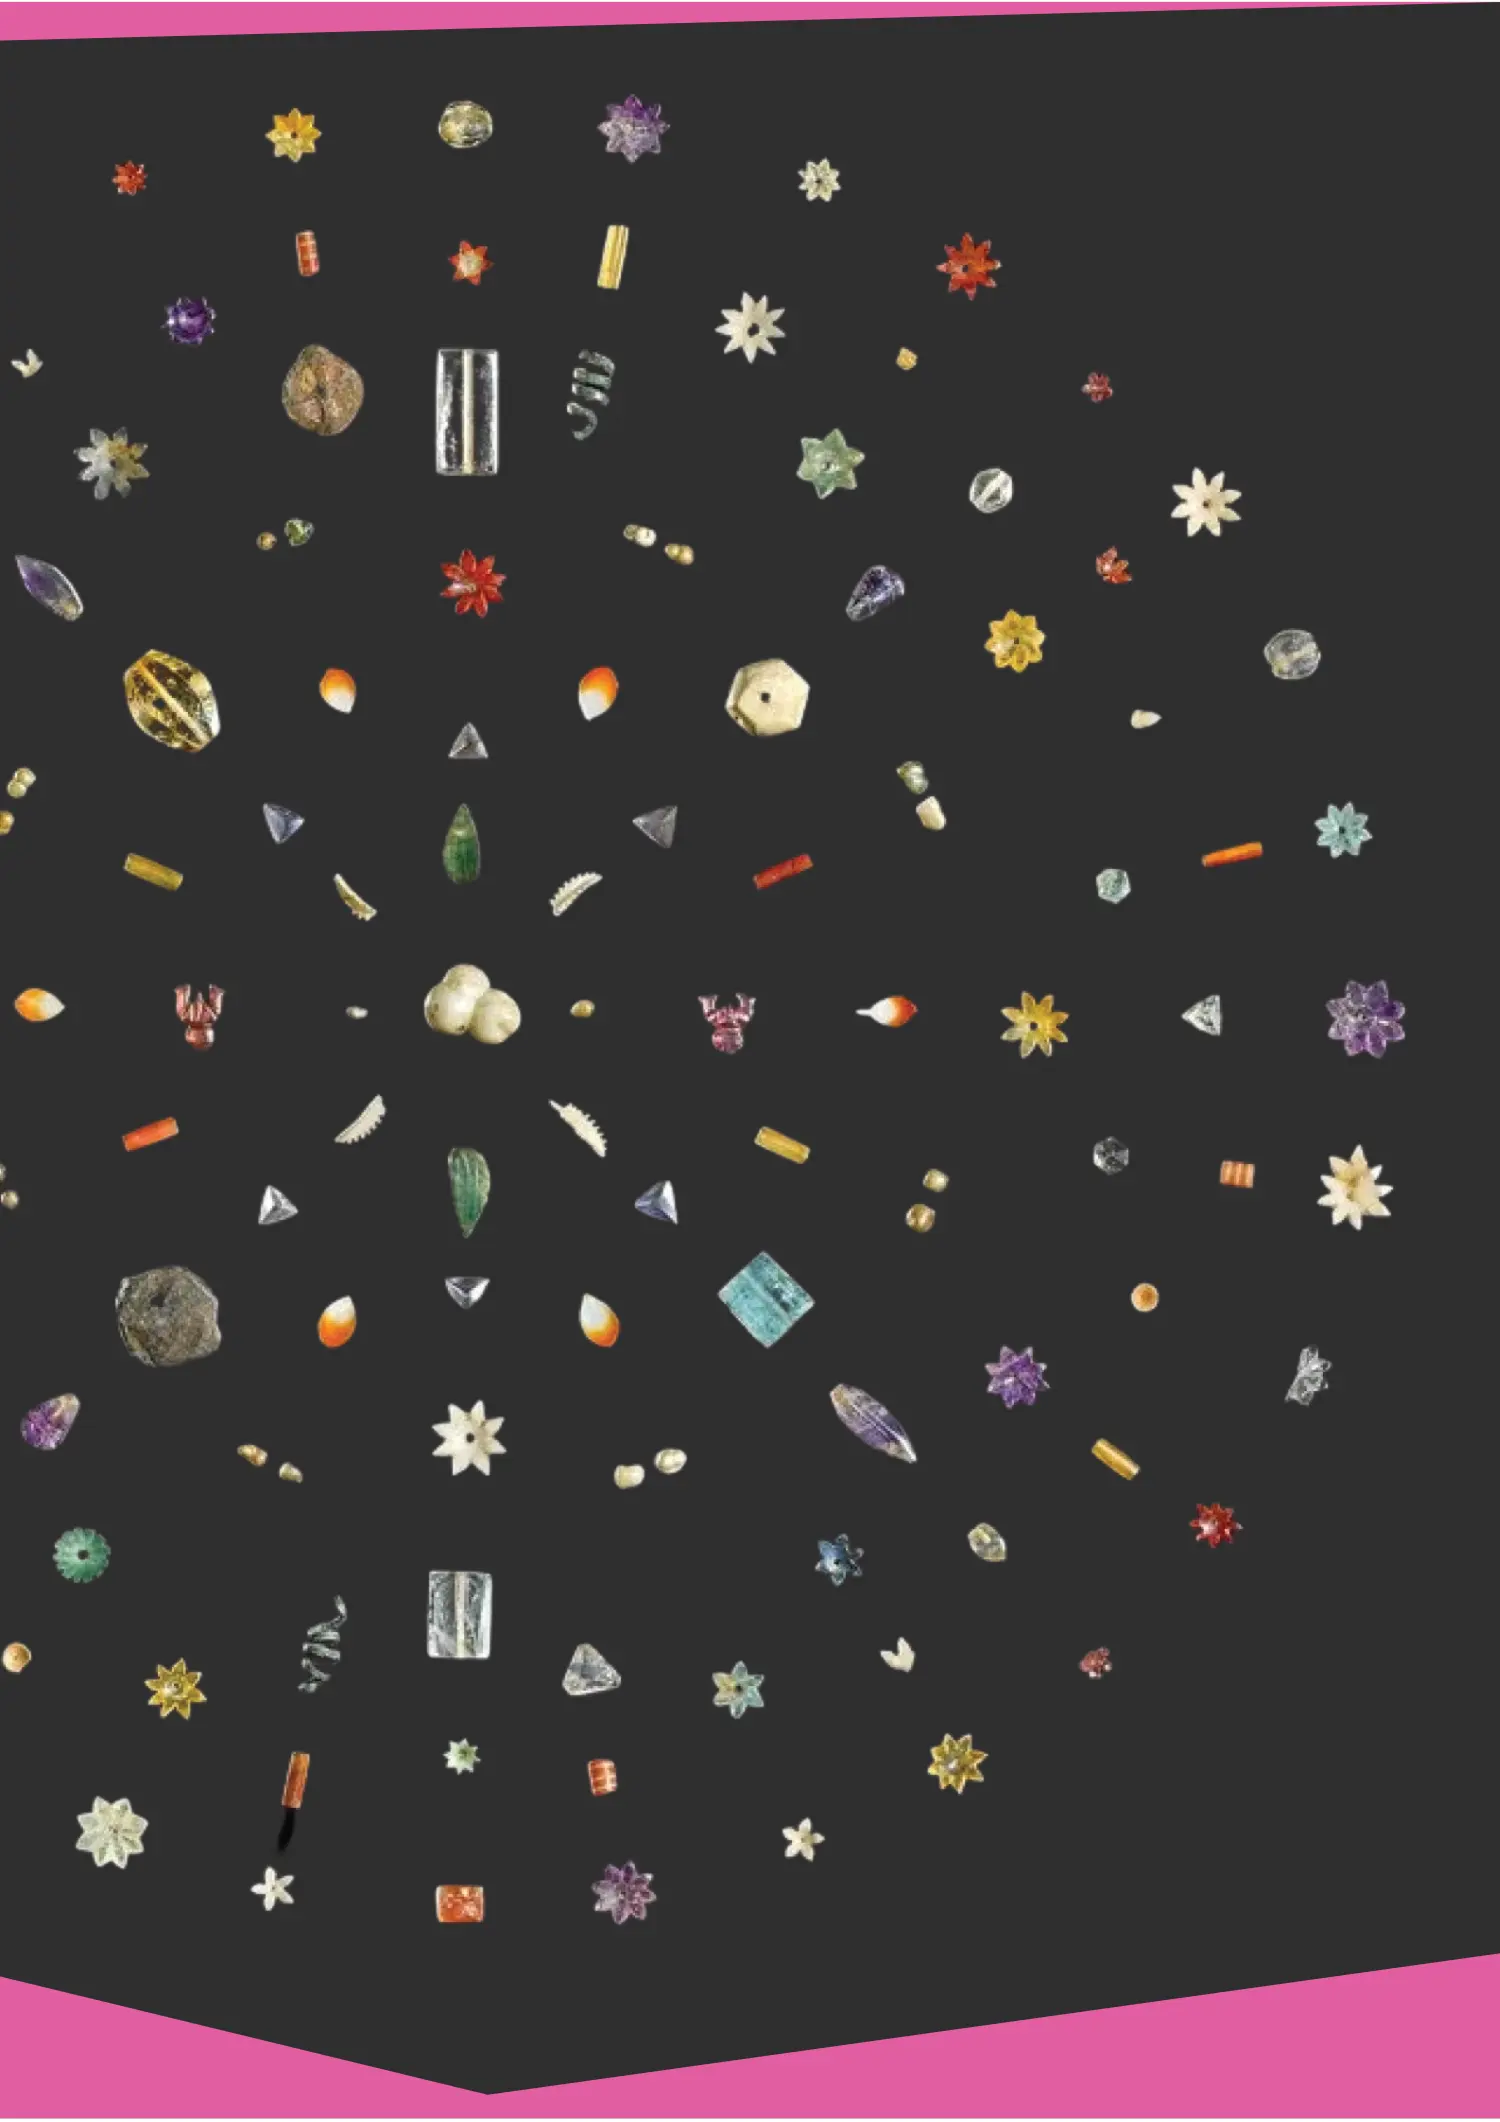
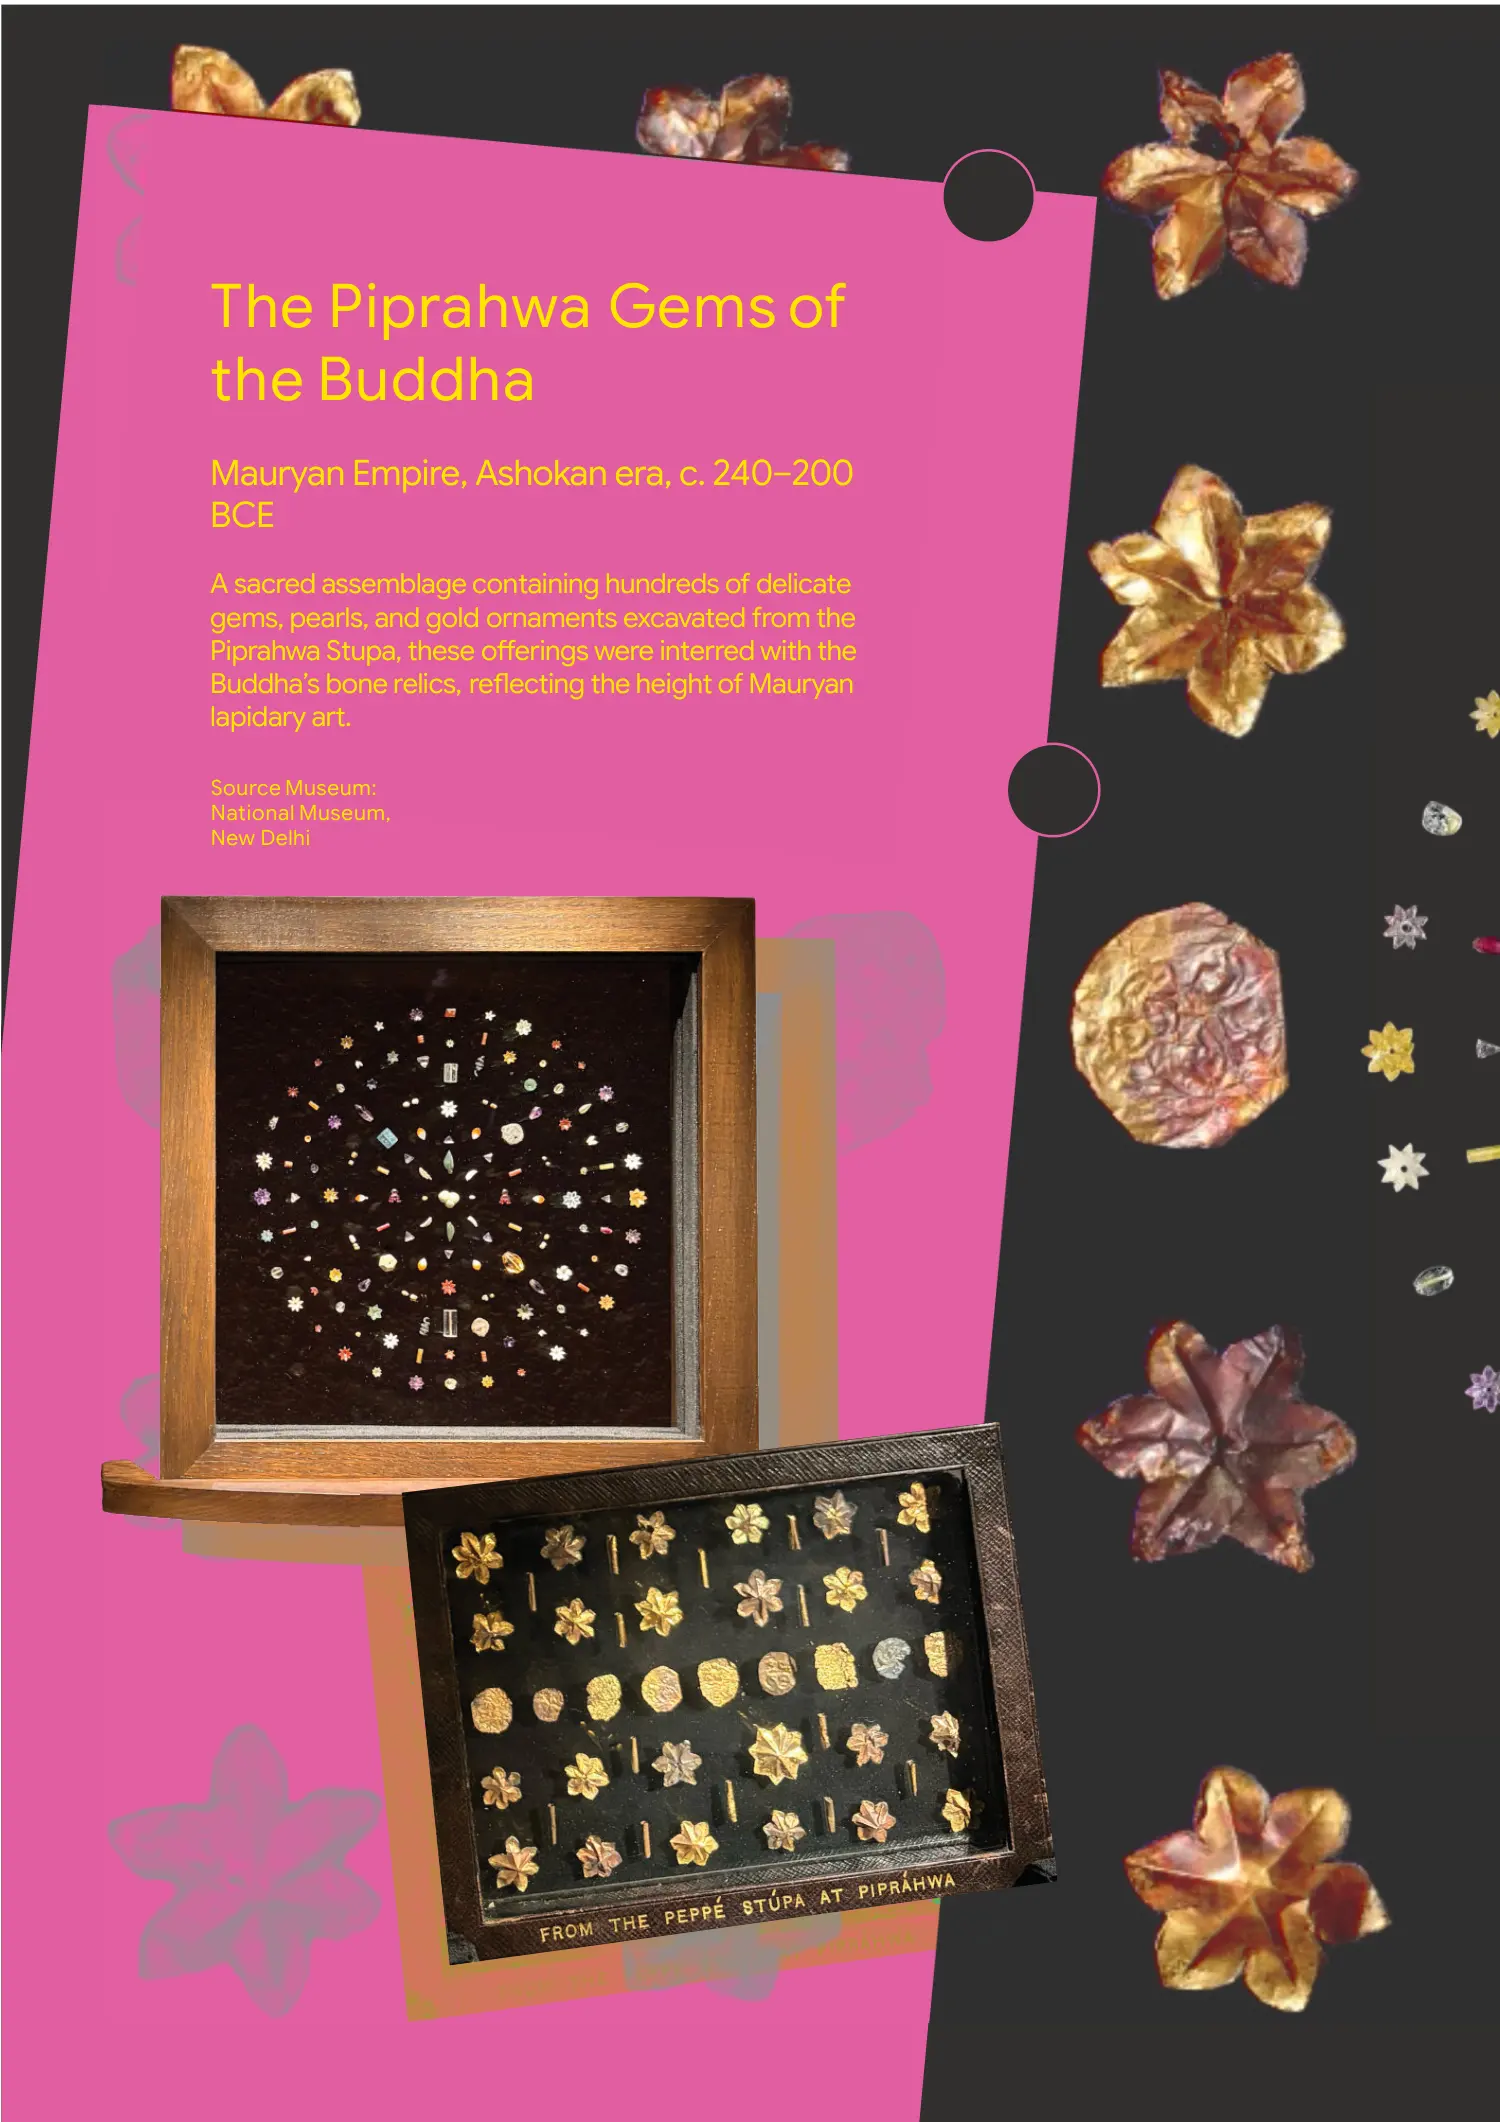
The modern history of Piprahwa began in 1898, when William Claxton Peppé excavated a large mound on his estate. At its centre lay a sandstone coffer containing reliquaries with bone fragments, ash, and jewellery such as amethyst, garnet, pearls, and worked gold. A Brahmi inscription on one of the caskets linked the deposit to the Buddha, establishing Piprahwa as an important site within Buddhist archaeological discourse. During colonial times, these relics were sent to museums in India; some were given to foreign countries, and a part stayed with the Peppé family in Britain for over a hundred years. In 2025, when Sotheby’s planned an auction of the Piprahwa gems in Hong Kong, public protests and diplomatic actions halted the sale, leading to the collection's return to India after 127 years through cooperation between the Indian government and the Godrej Industries Group.
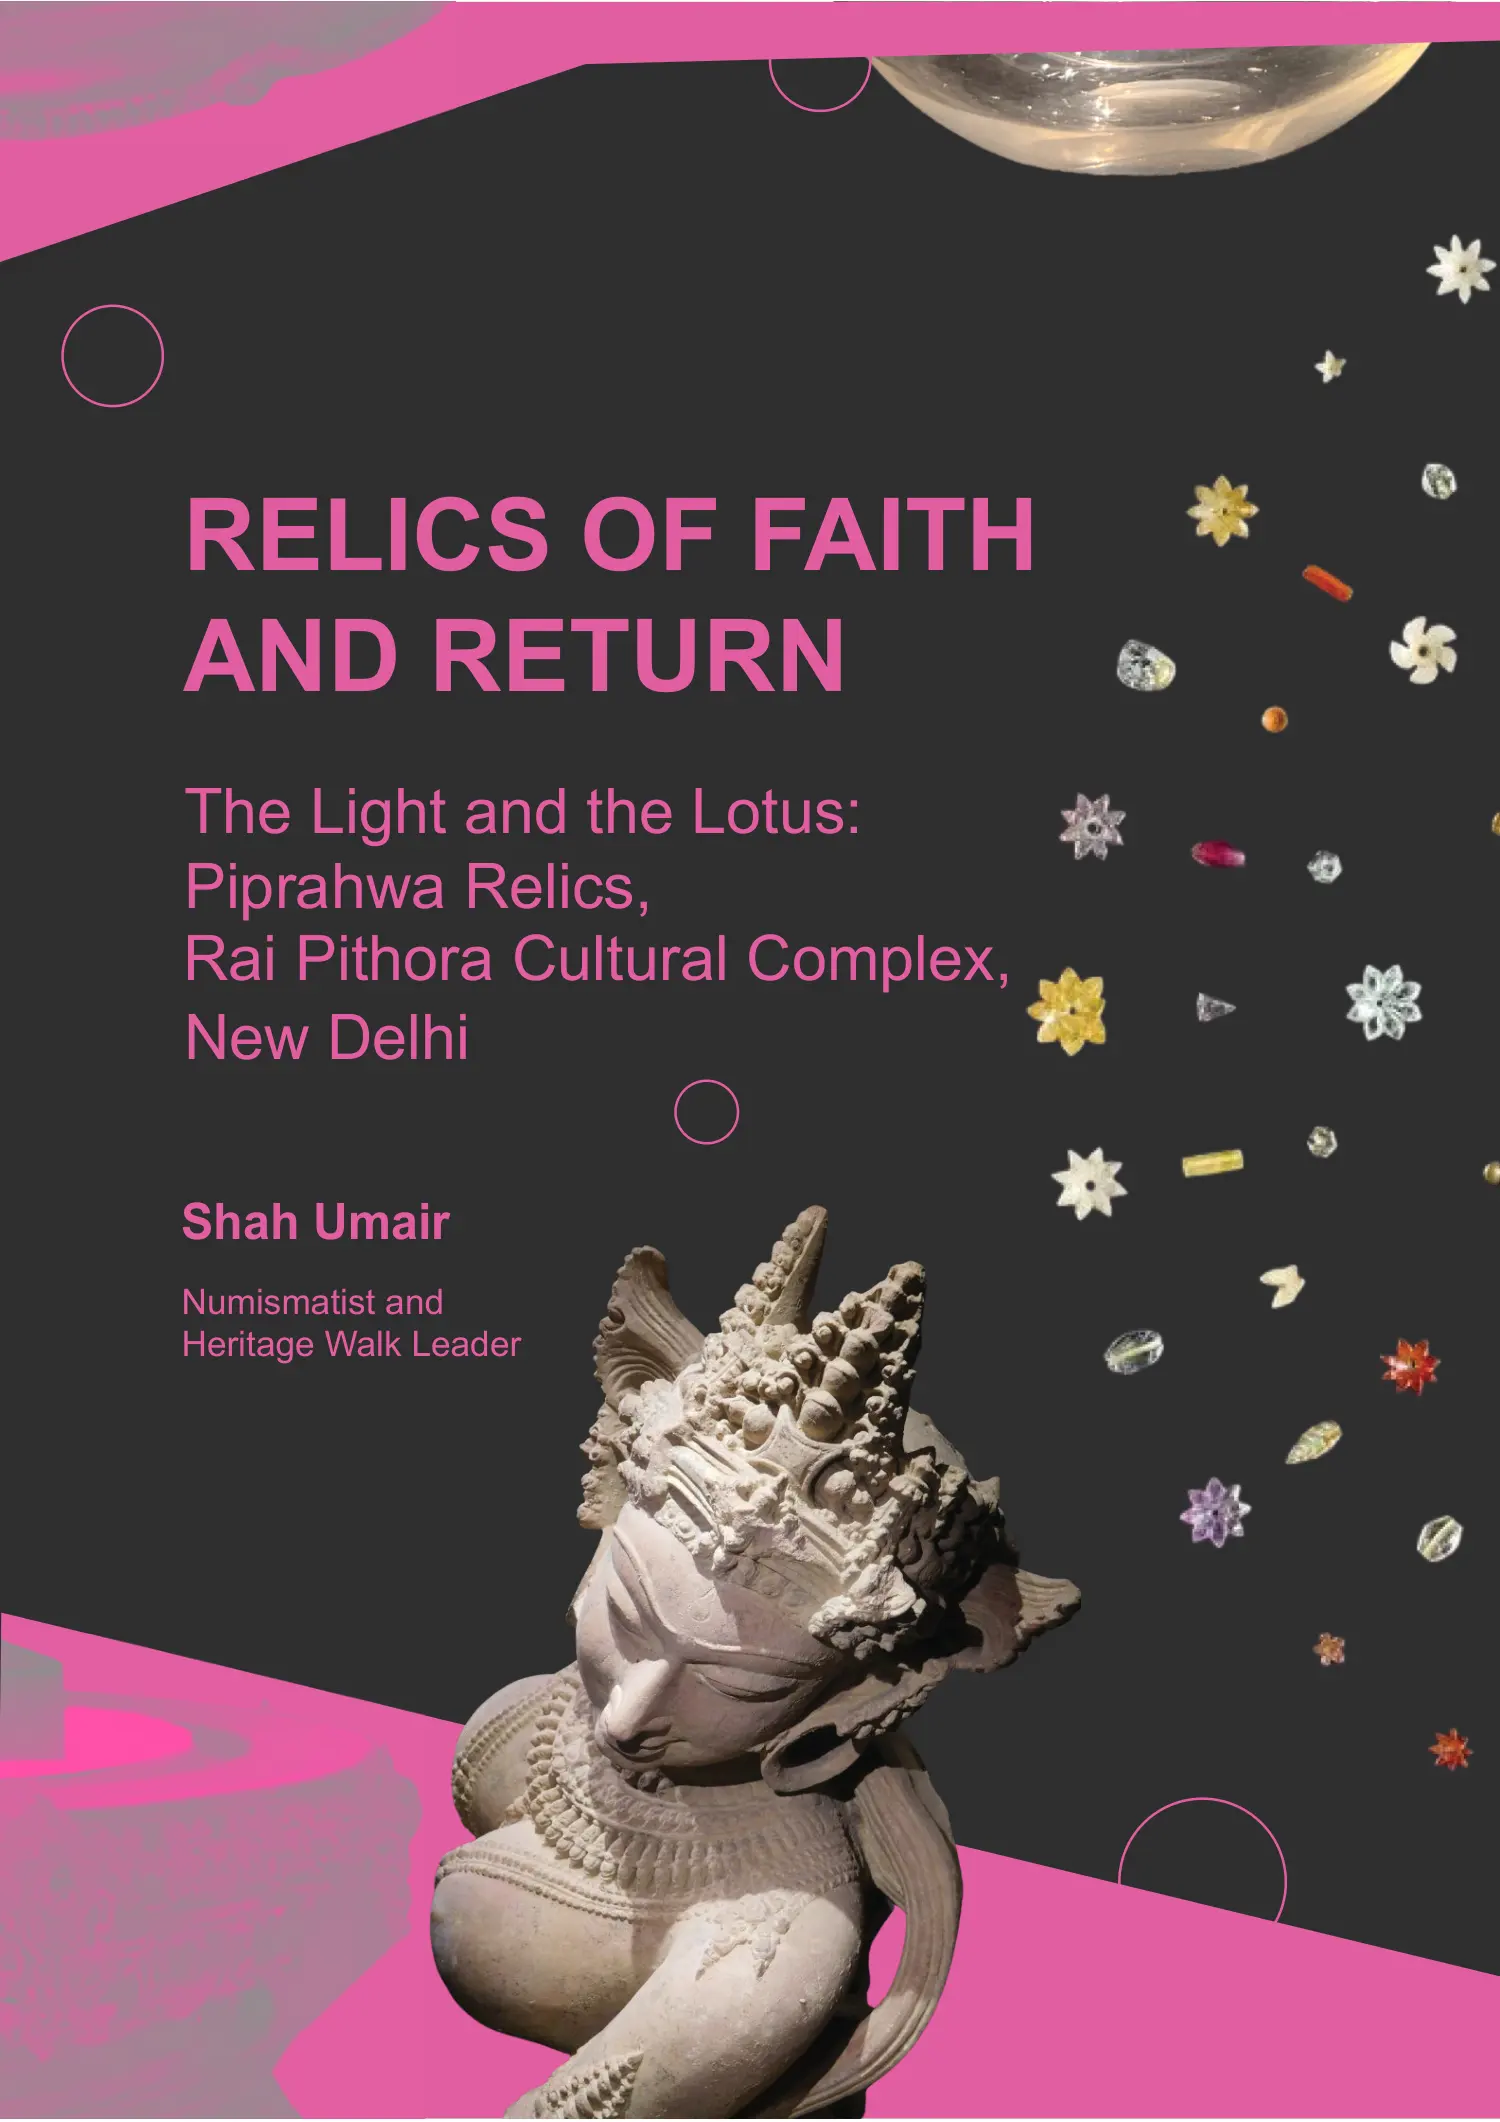
Today, these relics are showcased at the Rai Pithora Cultural Complex in Saket, New Delhi, in an exhibition titled The Light and the Lotus: Relics of the Awakened One, marking the first time in over a hundred years that relics, reliquaries, and repatriated gems have been displayed together. The exhibition has also recreated a stupa, situating the relics within their original ritual environment.
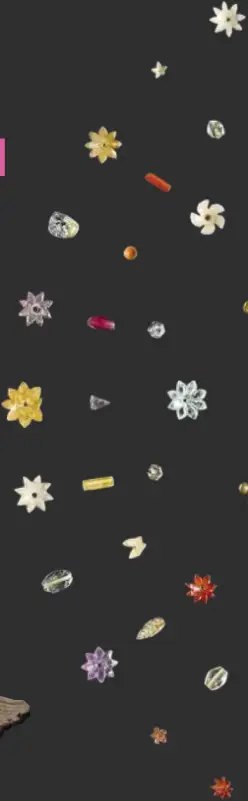
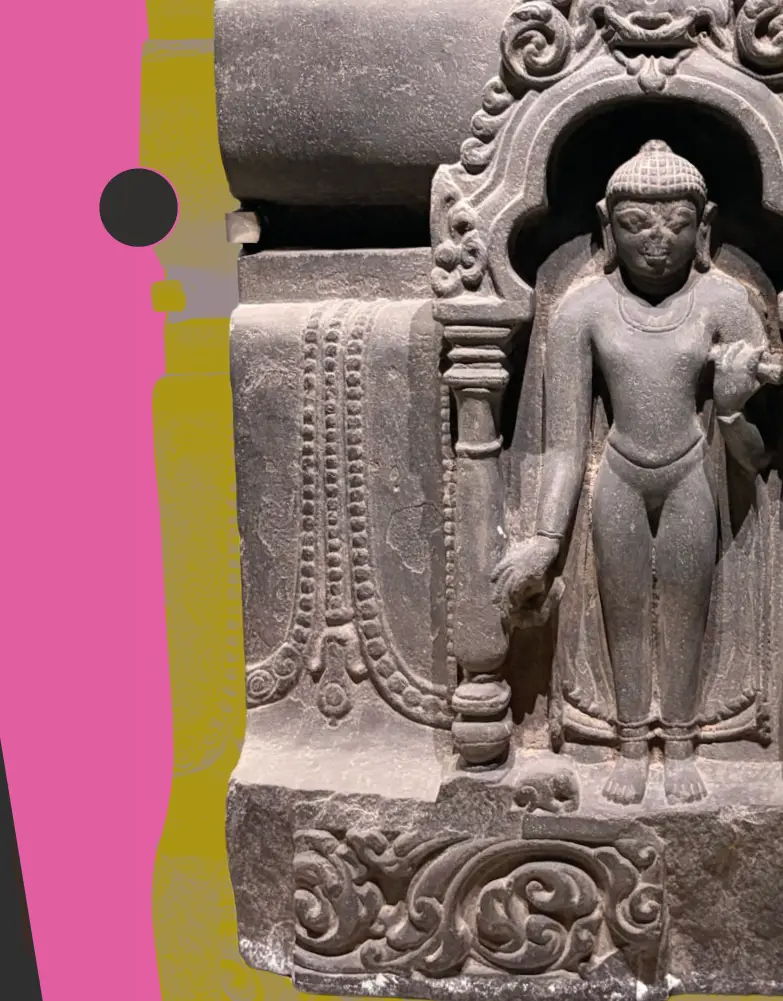
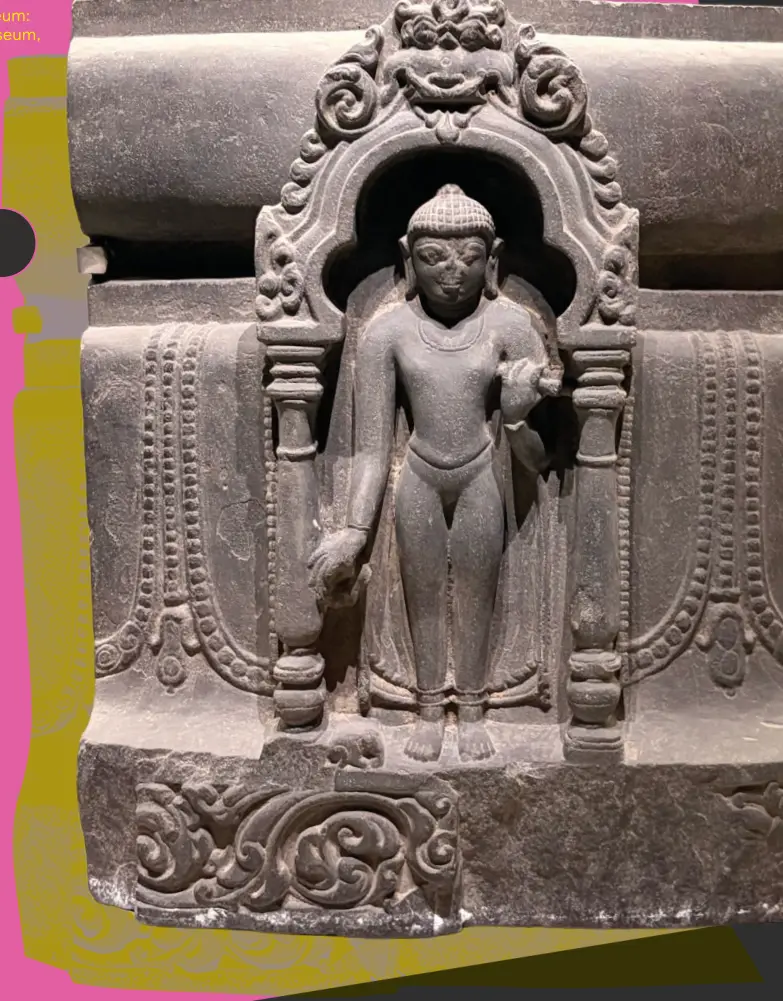
The exhibition showcases crystal caskets, terracotta pieces, and over a thousand gemstones shaped into lotus symbols and other meaningful motifs, illustrating their journey from ancient relics to colonial dispersal and finally, back to India. Additional displays broaden the story beyond Piprahwa, featuring manuscripts like the Ashtasahasrika Prajnaparamita with Indian and Nepalese covers, Gandharan reliefs of the Buddha’s Mahaparinirvana, and a contemporary image of a walking Buddha on a painted reed mat. Older Shunga-period reliefs show devotees interacting with stupas through touch and gestures. This trail documents objects that constitute the very heart of this exhibition, encapsulating over a millennium of Buddhist art, history, and spiritual practice. Despite the exhibition's beauty, debates persist over Piprahwa’s identification with Kapilavastu. However, the focus at Saket lies in tracing how relics move through time, with their meanings continually evolving through discovery, scholarship, and display.
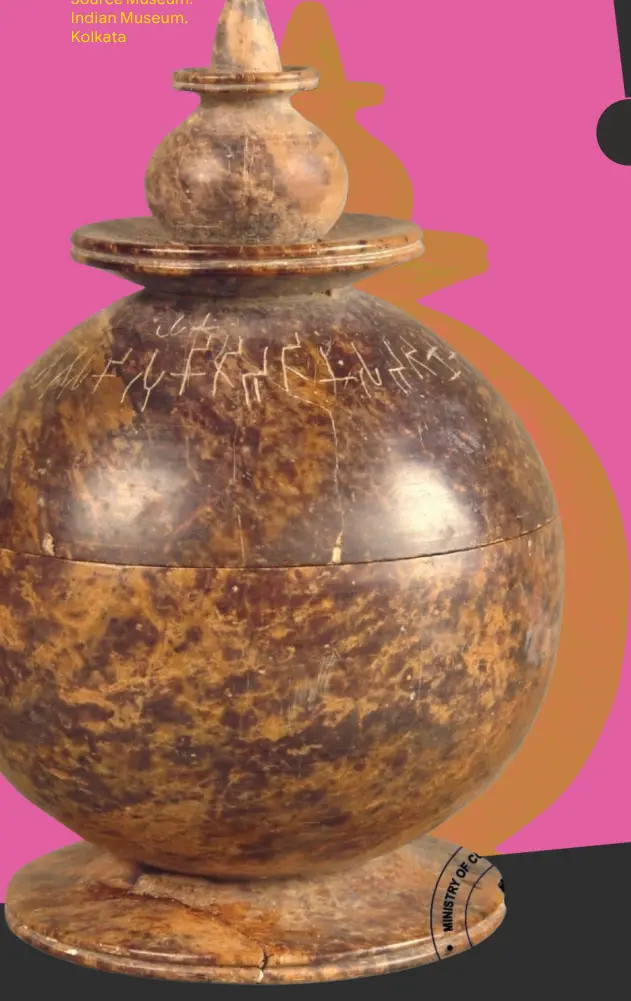
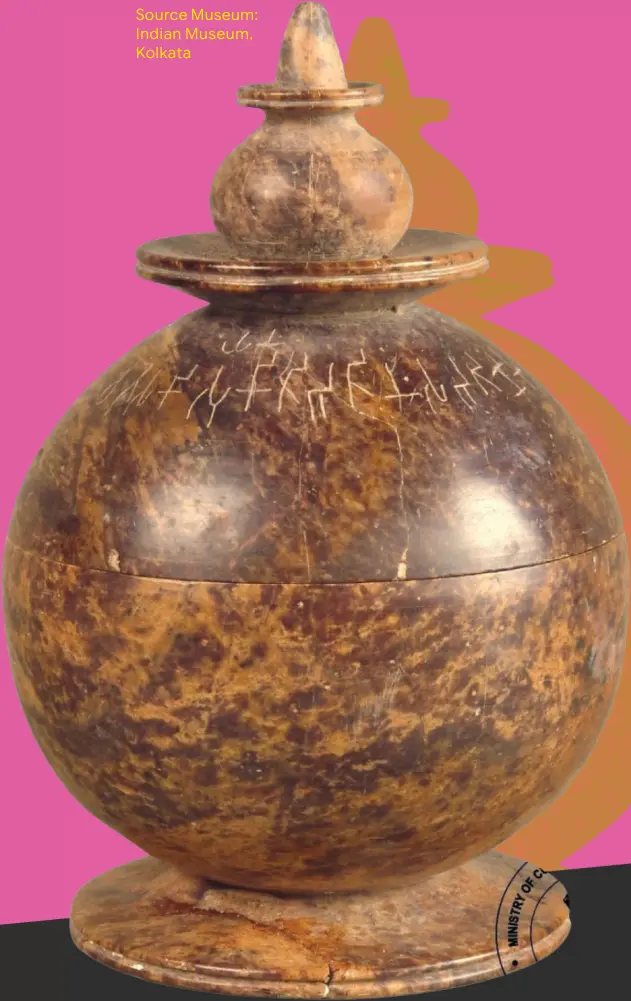
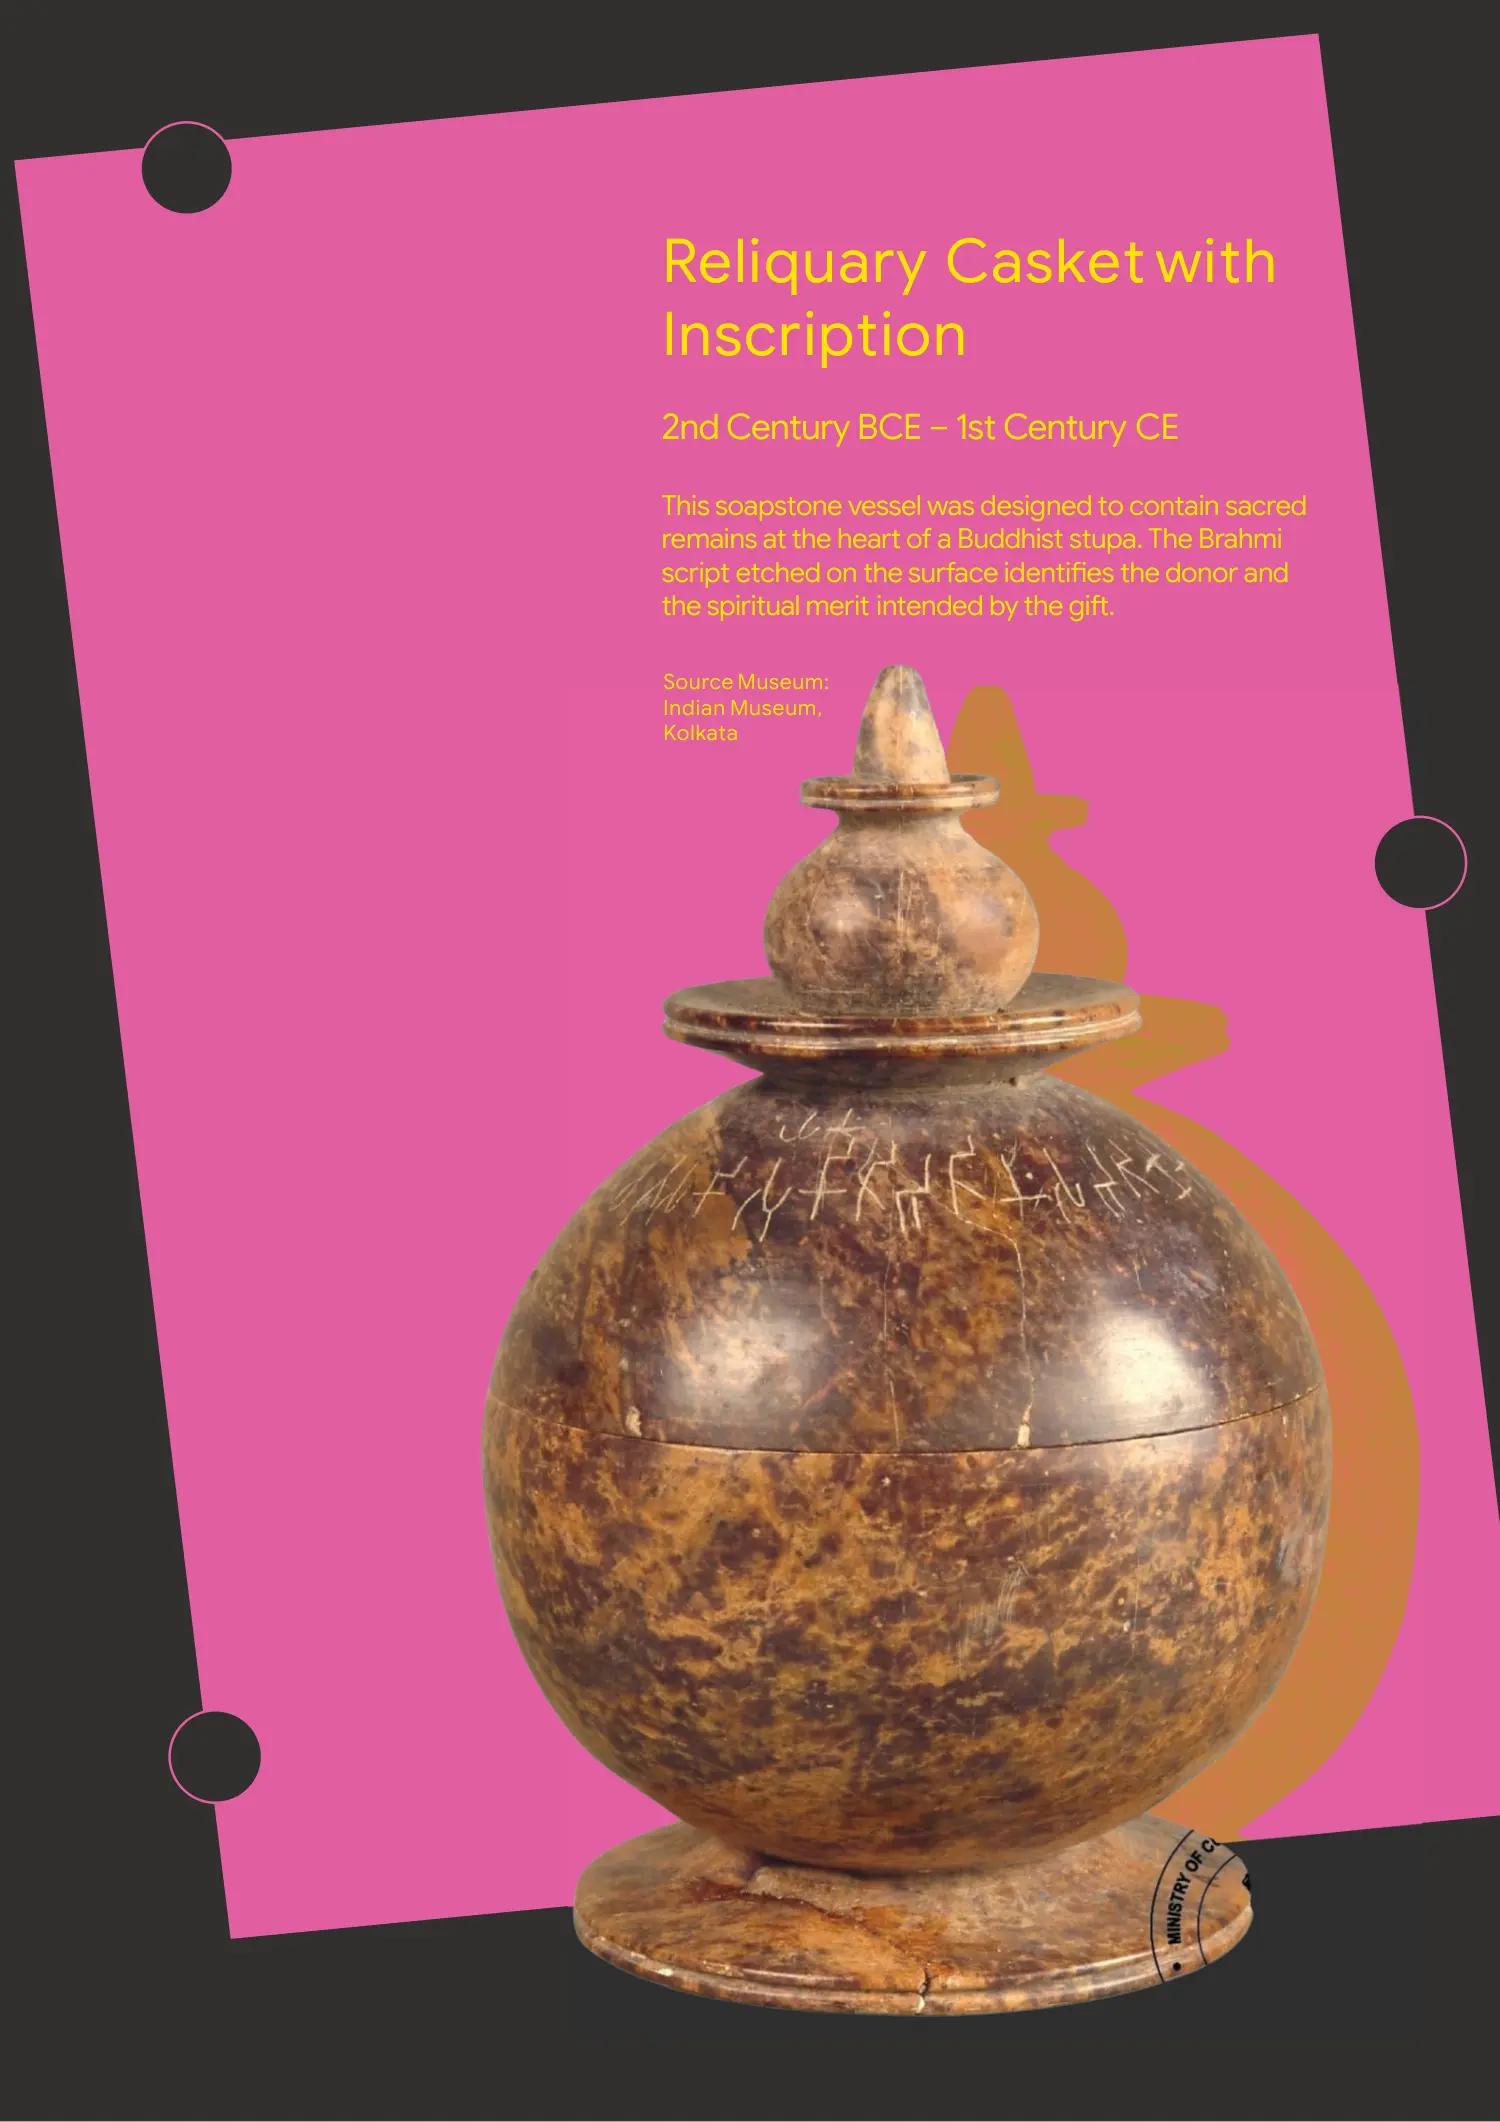
Reliquary Casket with Inscription
2nd Century BCE – 1st Century CE
This soapstone vessel was designed to contain sacred remains at the heart of a Buddhist stupa. The Brahmi script etched on the surface identifies the donor and the spiritual merit intended by the gift.
Source Museum: Indian Museum, Kolkata
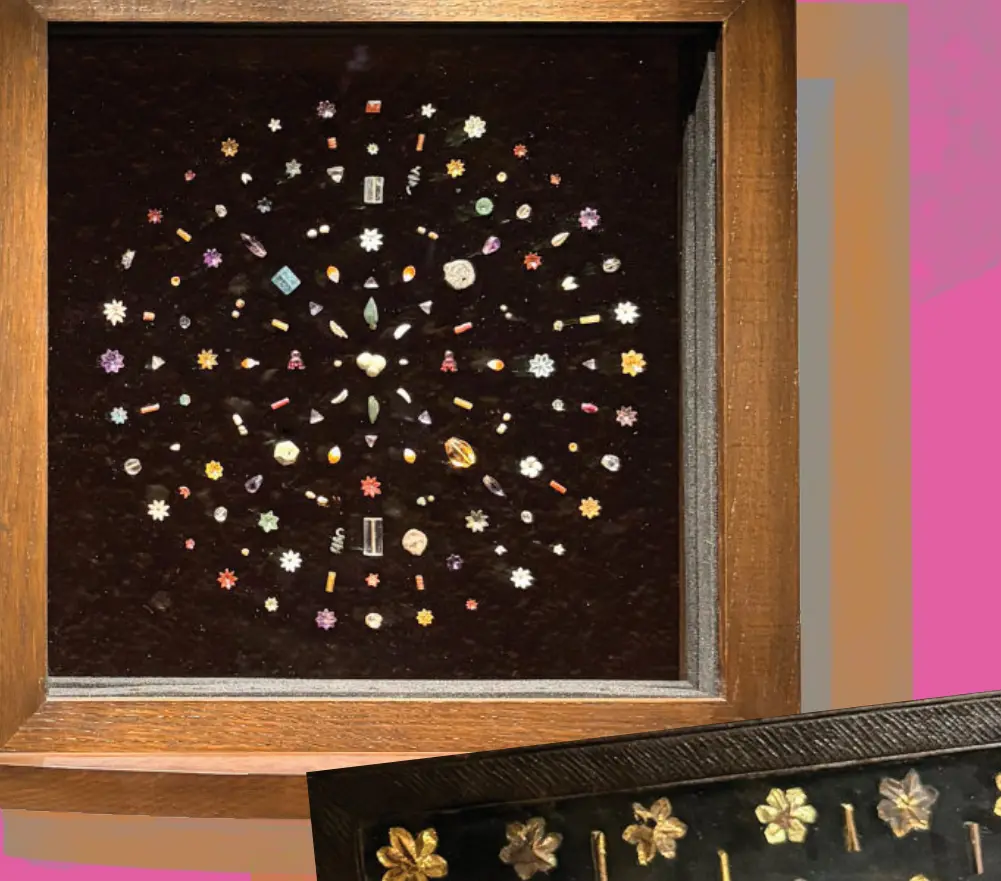
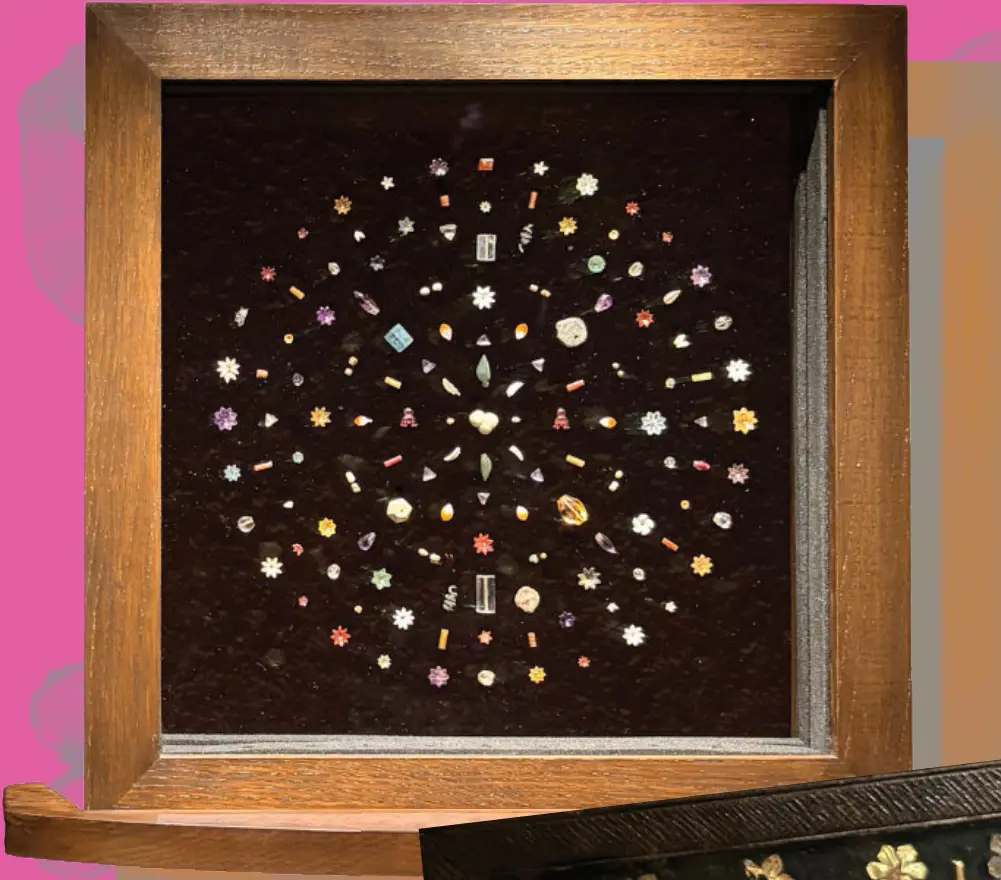
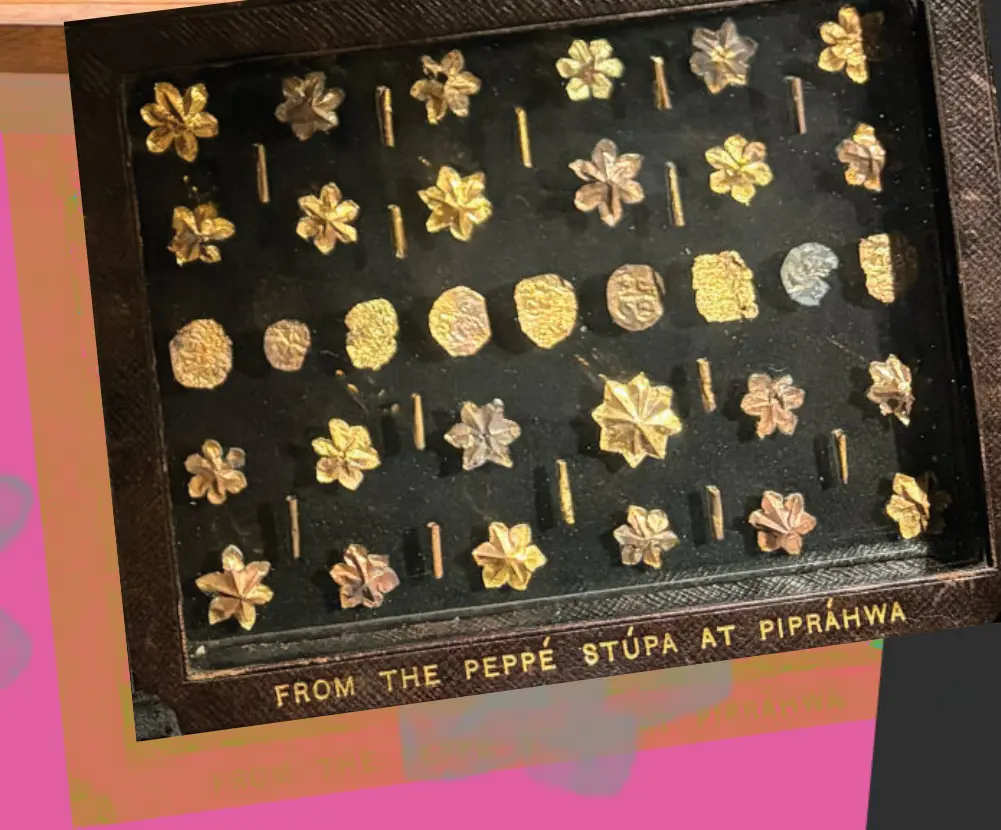
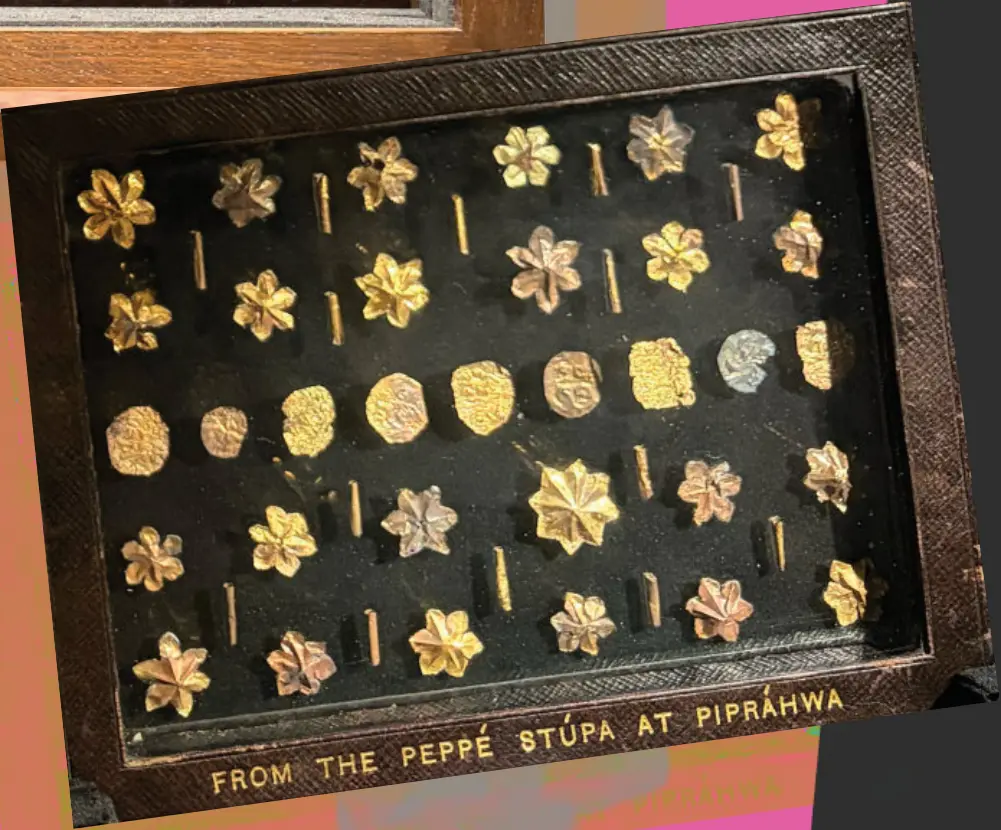
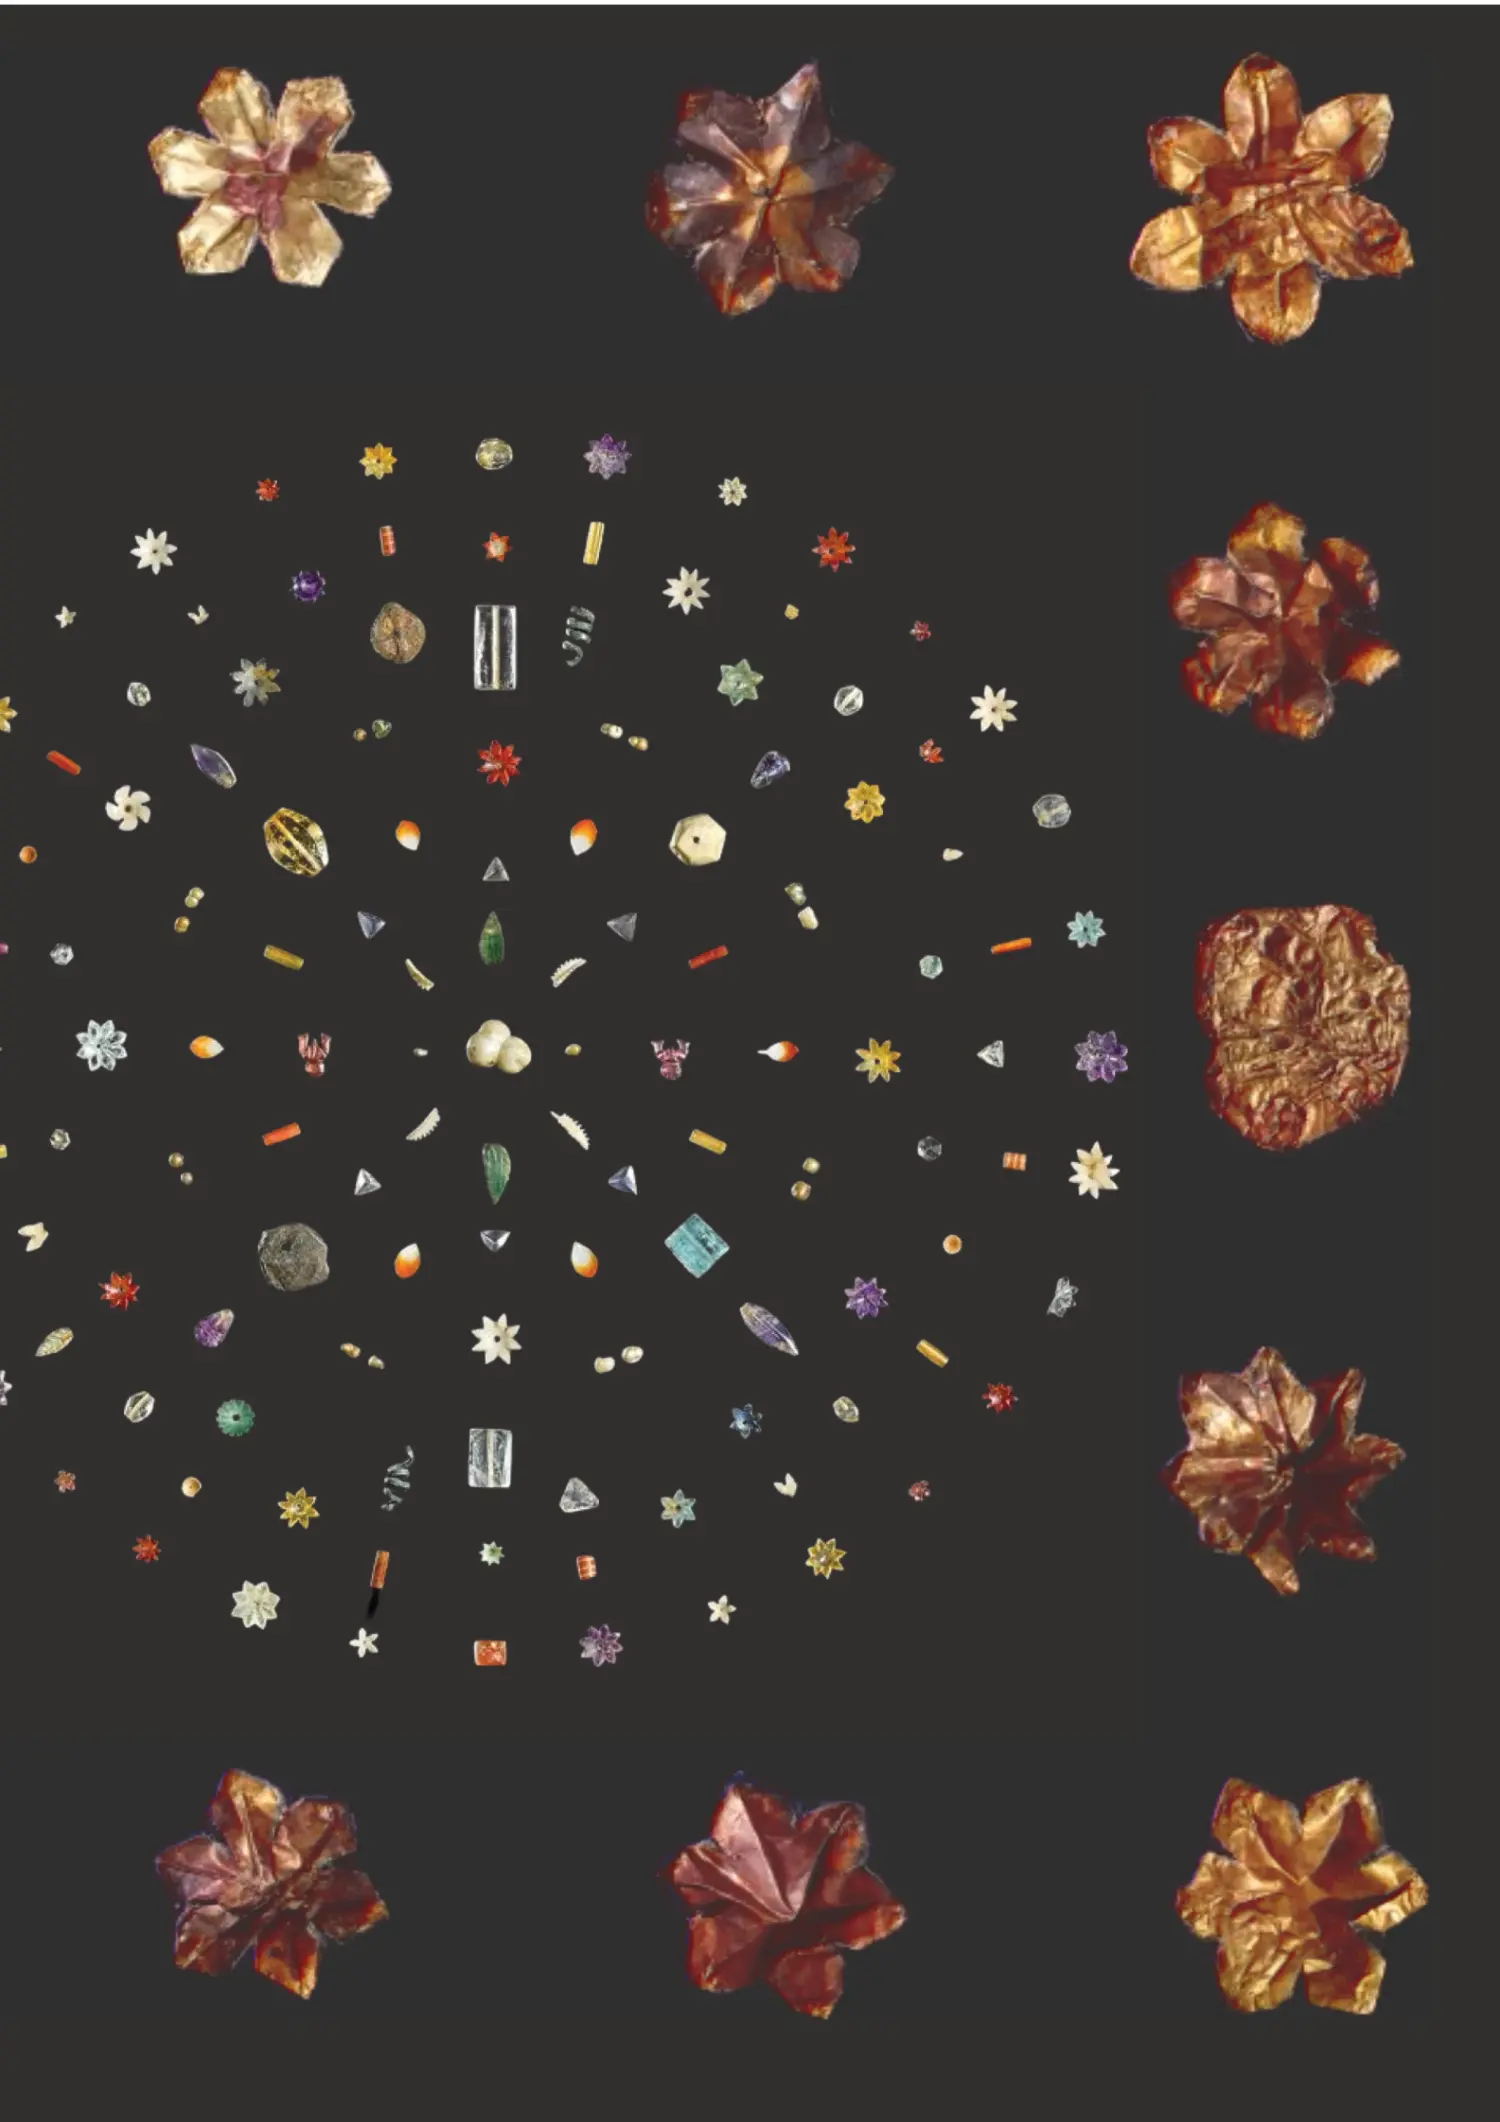
The Piprahwa Gems of the Buddha
Mauryan Empire, Ashokan era, c. 240–200 BCE
A sacred assemblage containing hundreds of delicate gems, pearls, and gold ornaments excavated from the Piprahwa Stupa, these offerings were interred with the Buddha’s bone relics, reflecting the height of Mauryan lapidary art.
Source Museum: National Museum, New Delhi
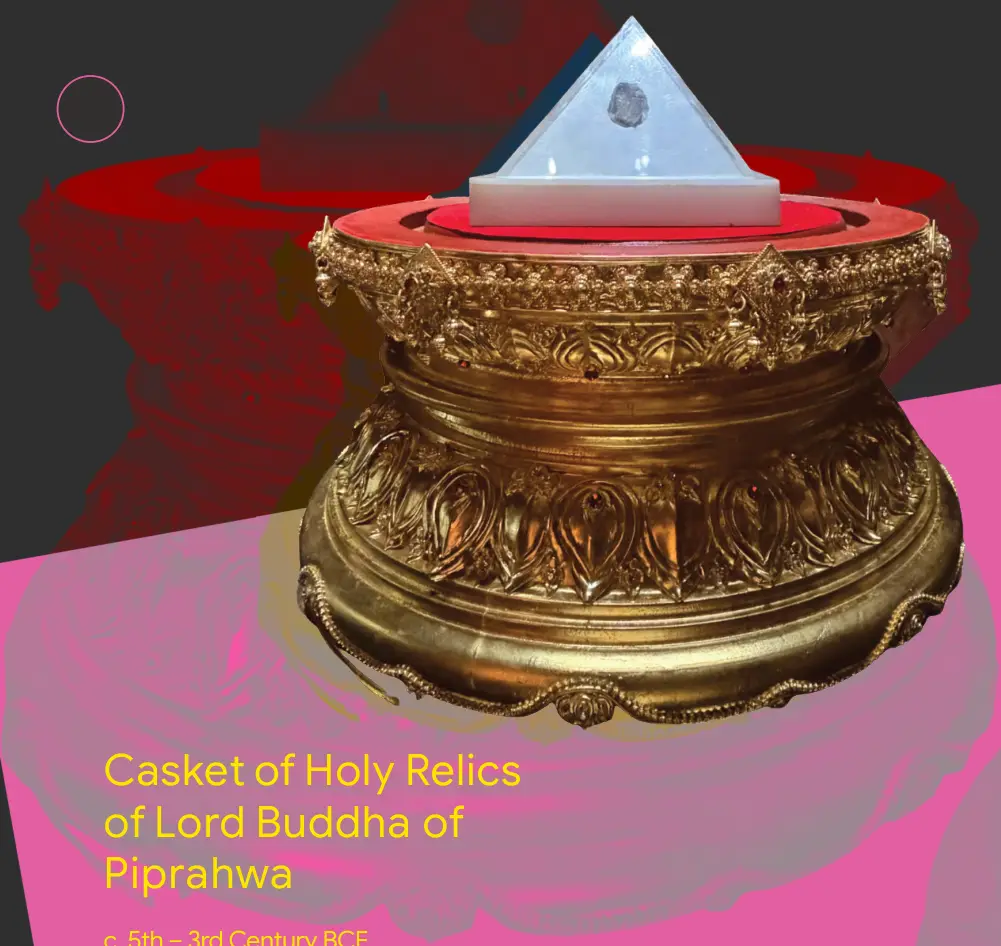
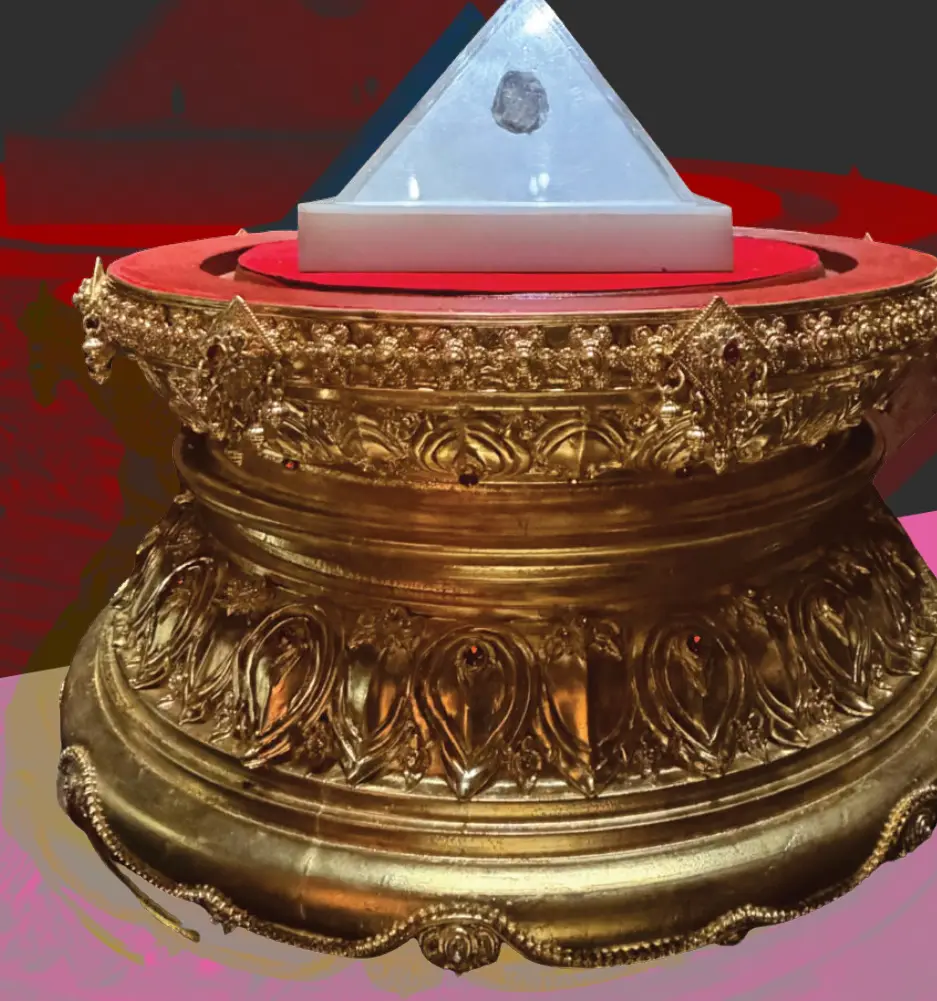
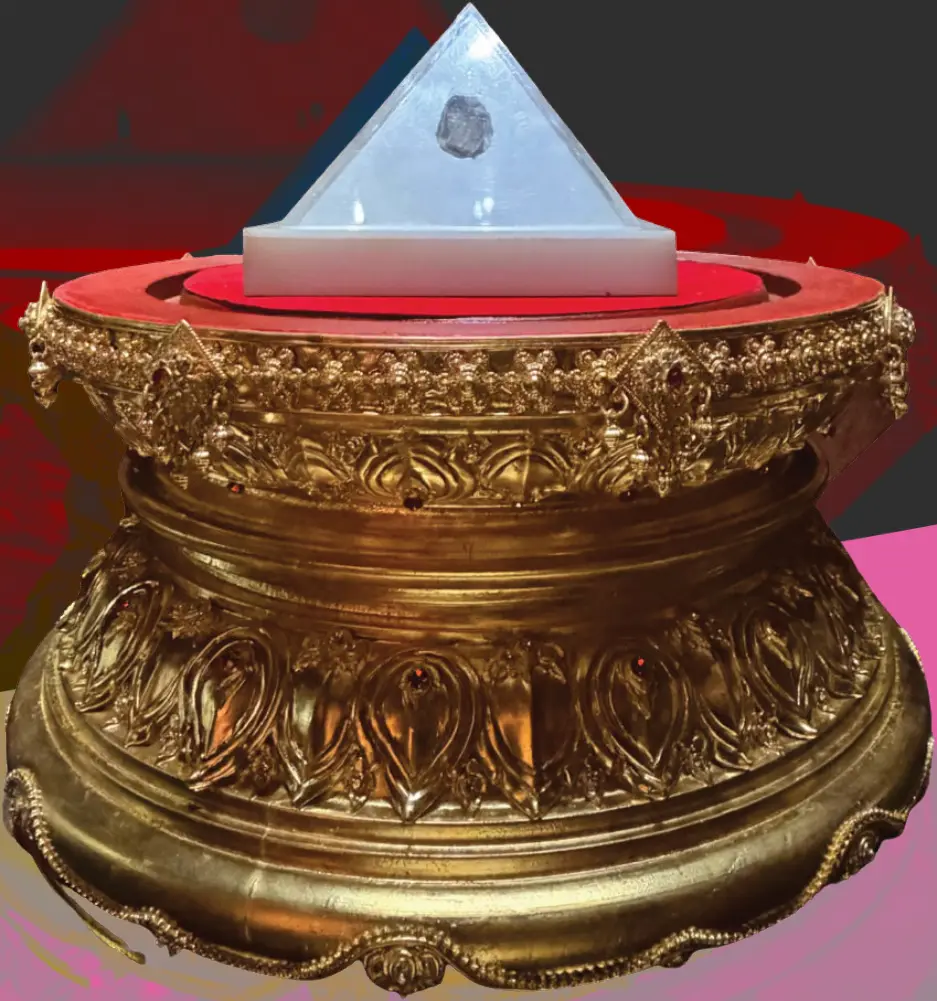
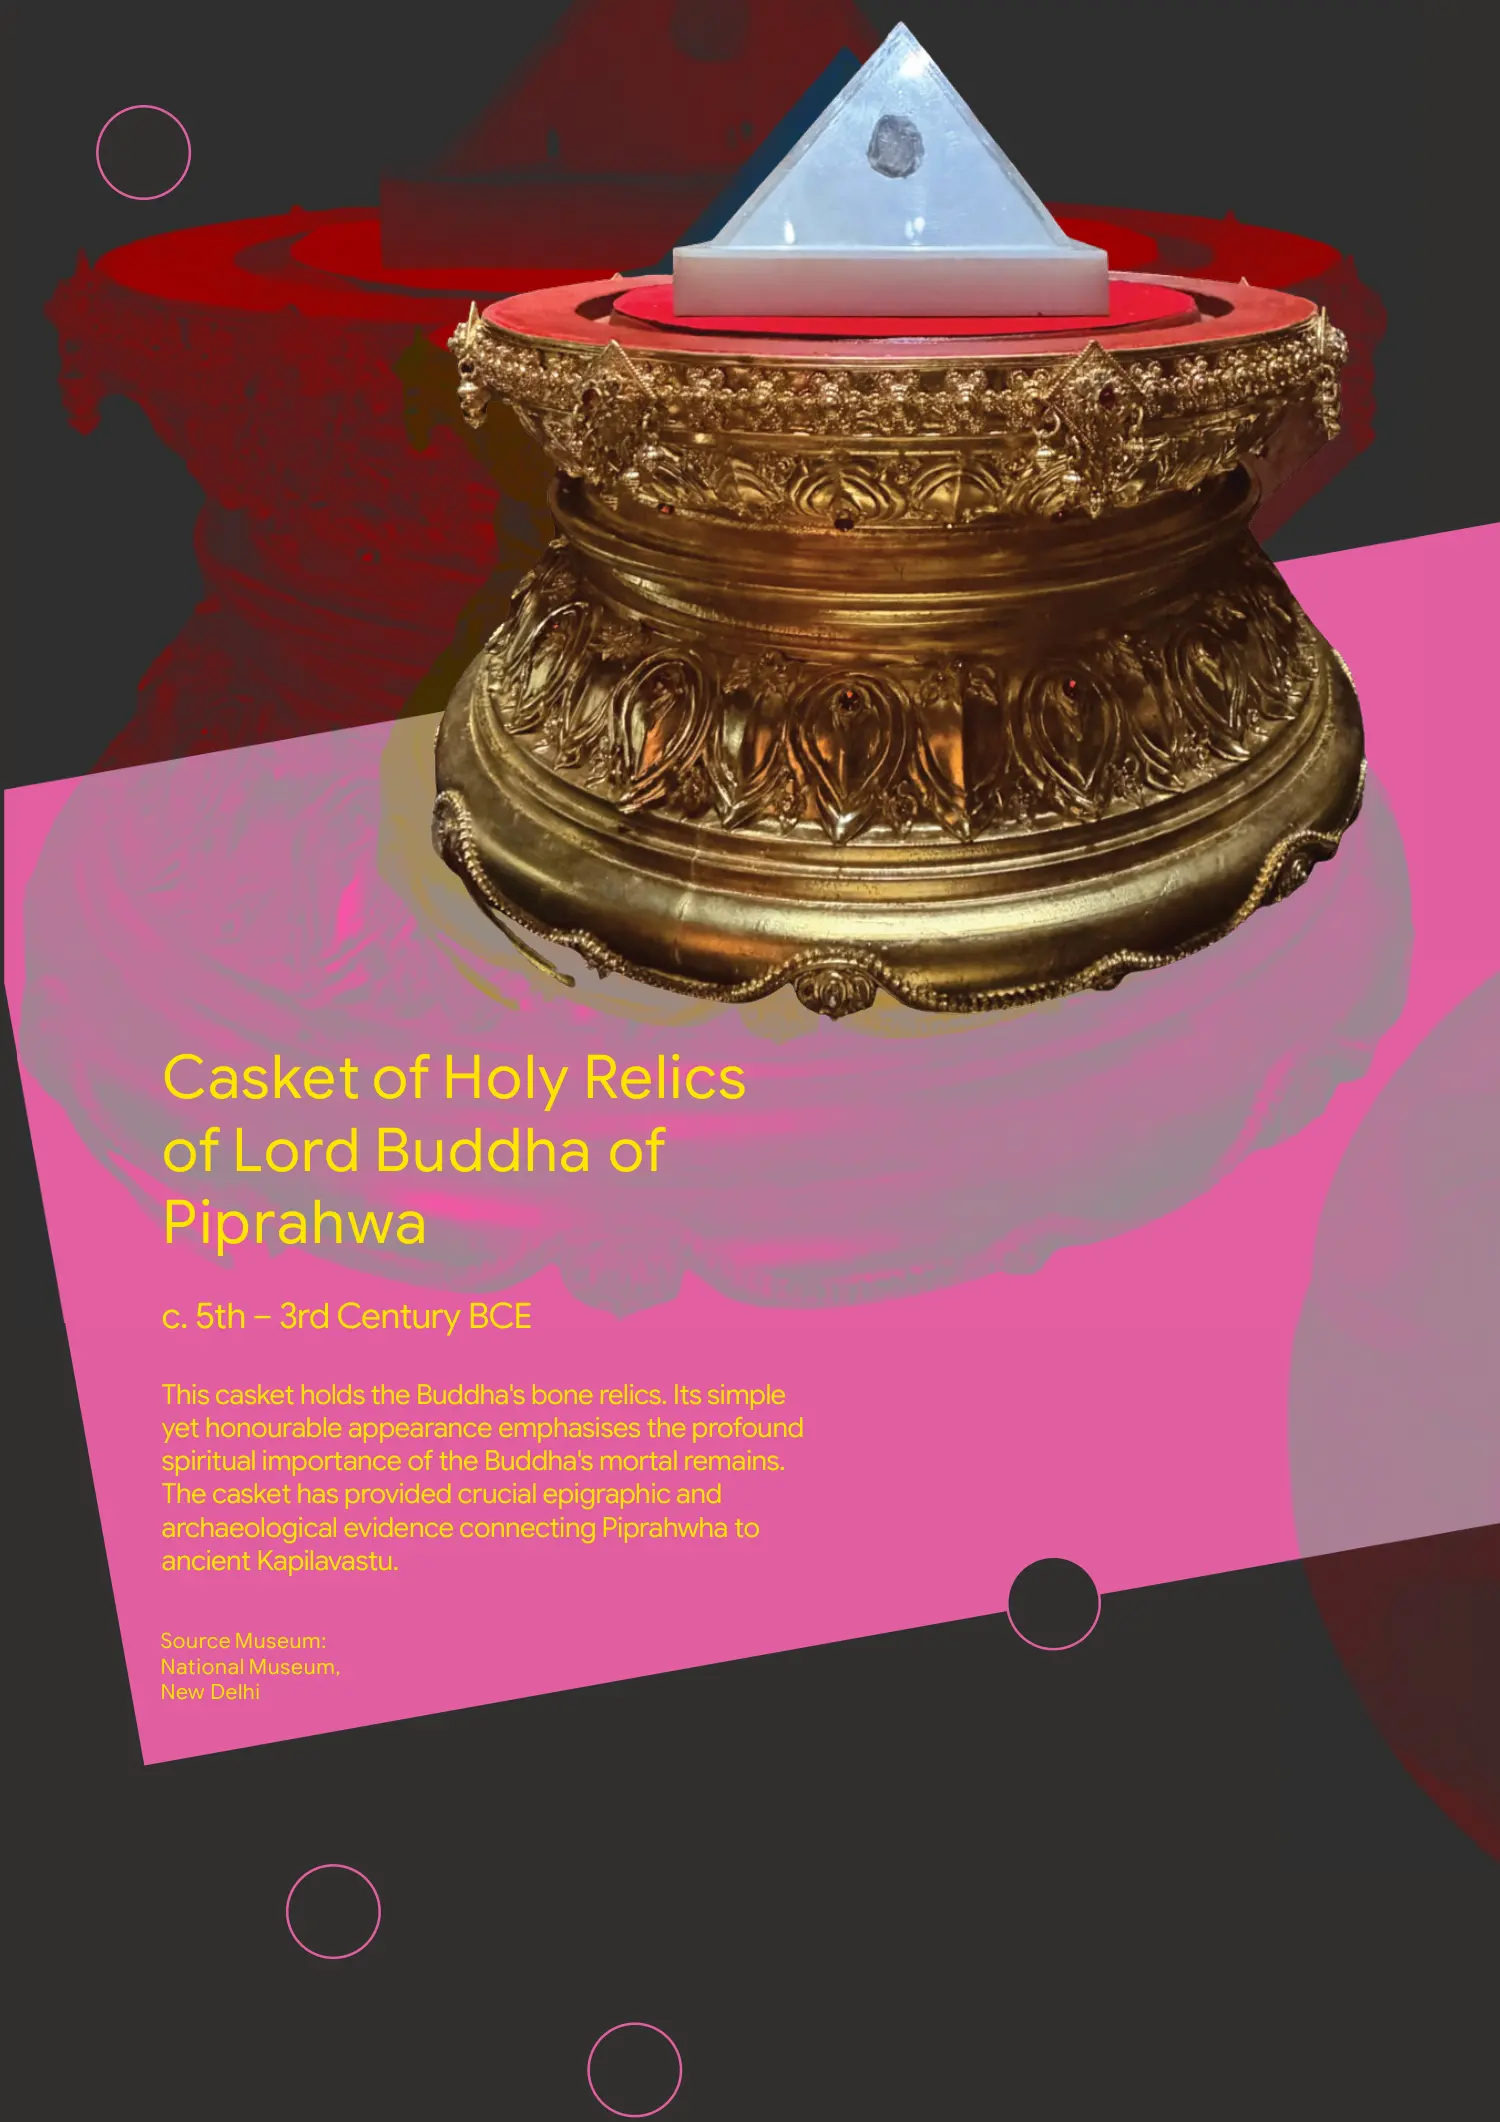
Casket of Holy Relics of Lord Buddha of Piprahwa
c. 5th – 3rd Century BCE
This casket holds the Buddha's bone relics. Its simple yet honourable appearance emphasises the profound spiritual importance of the Buddha's mortal remains. The casket has provided crucial epigraphic and archaeological evidence connecting Piprahwha to ancient Kapilavastu.
Source Museum: National Museum, New Delhi

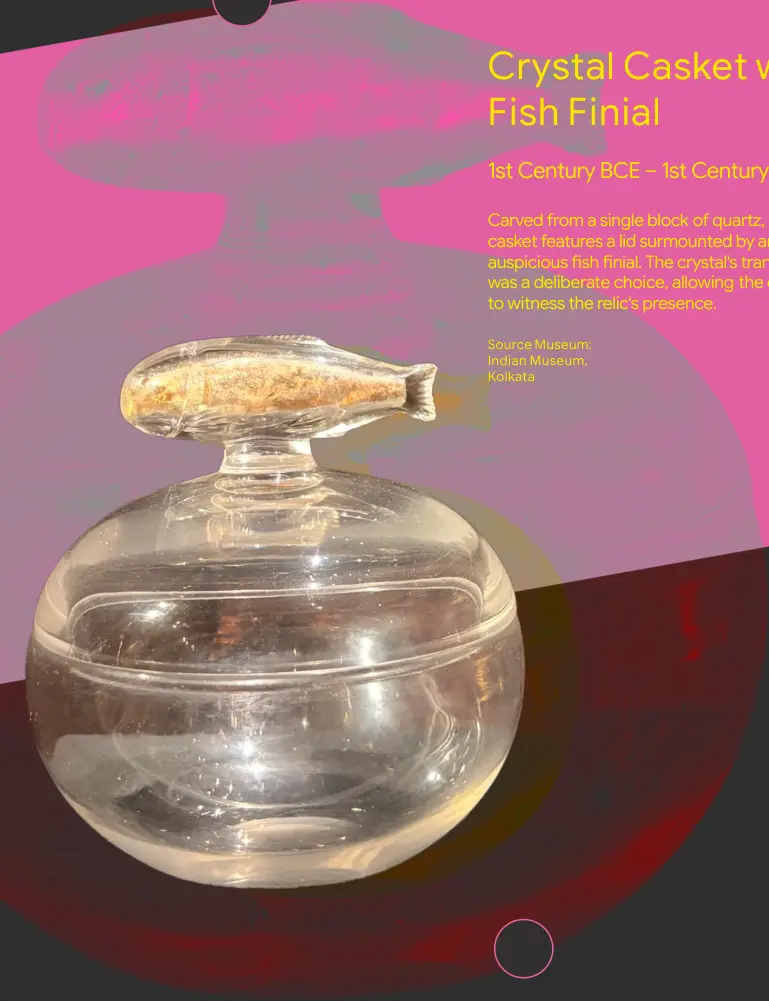
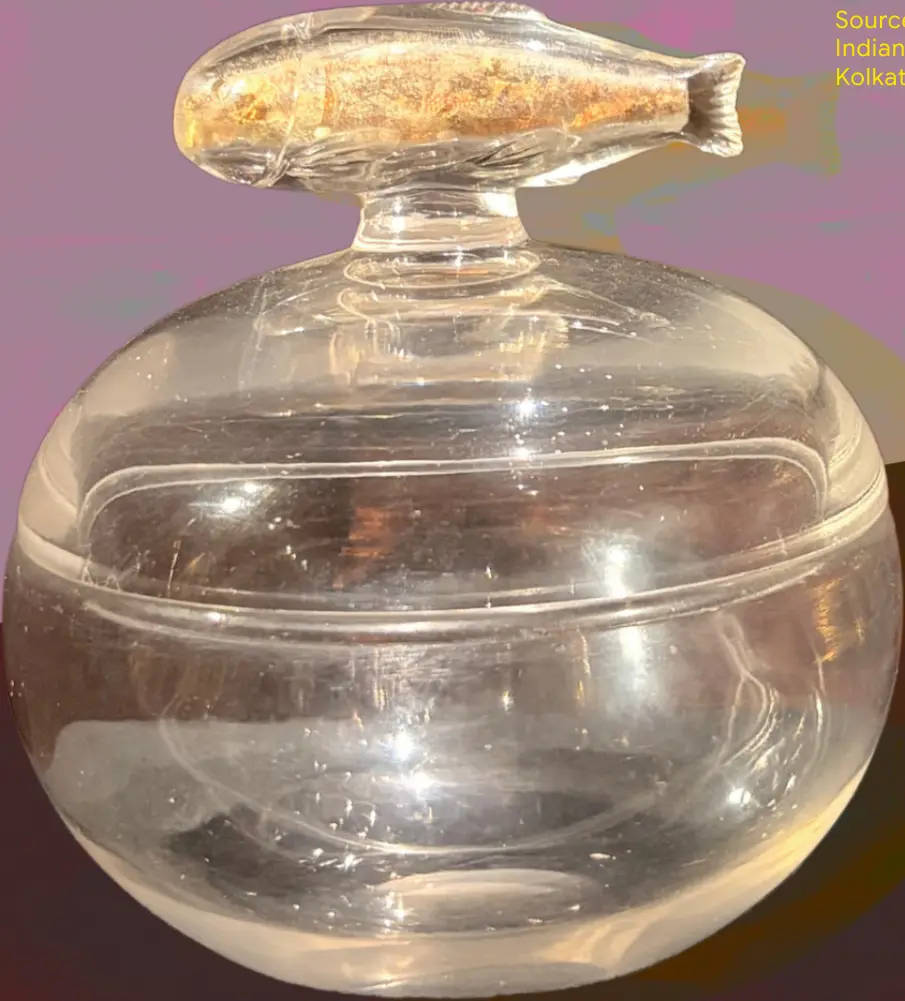
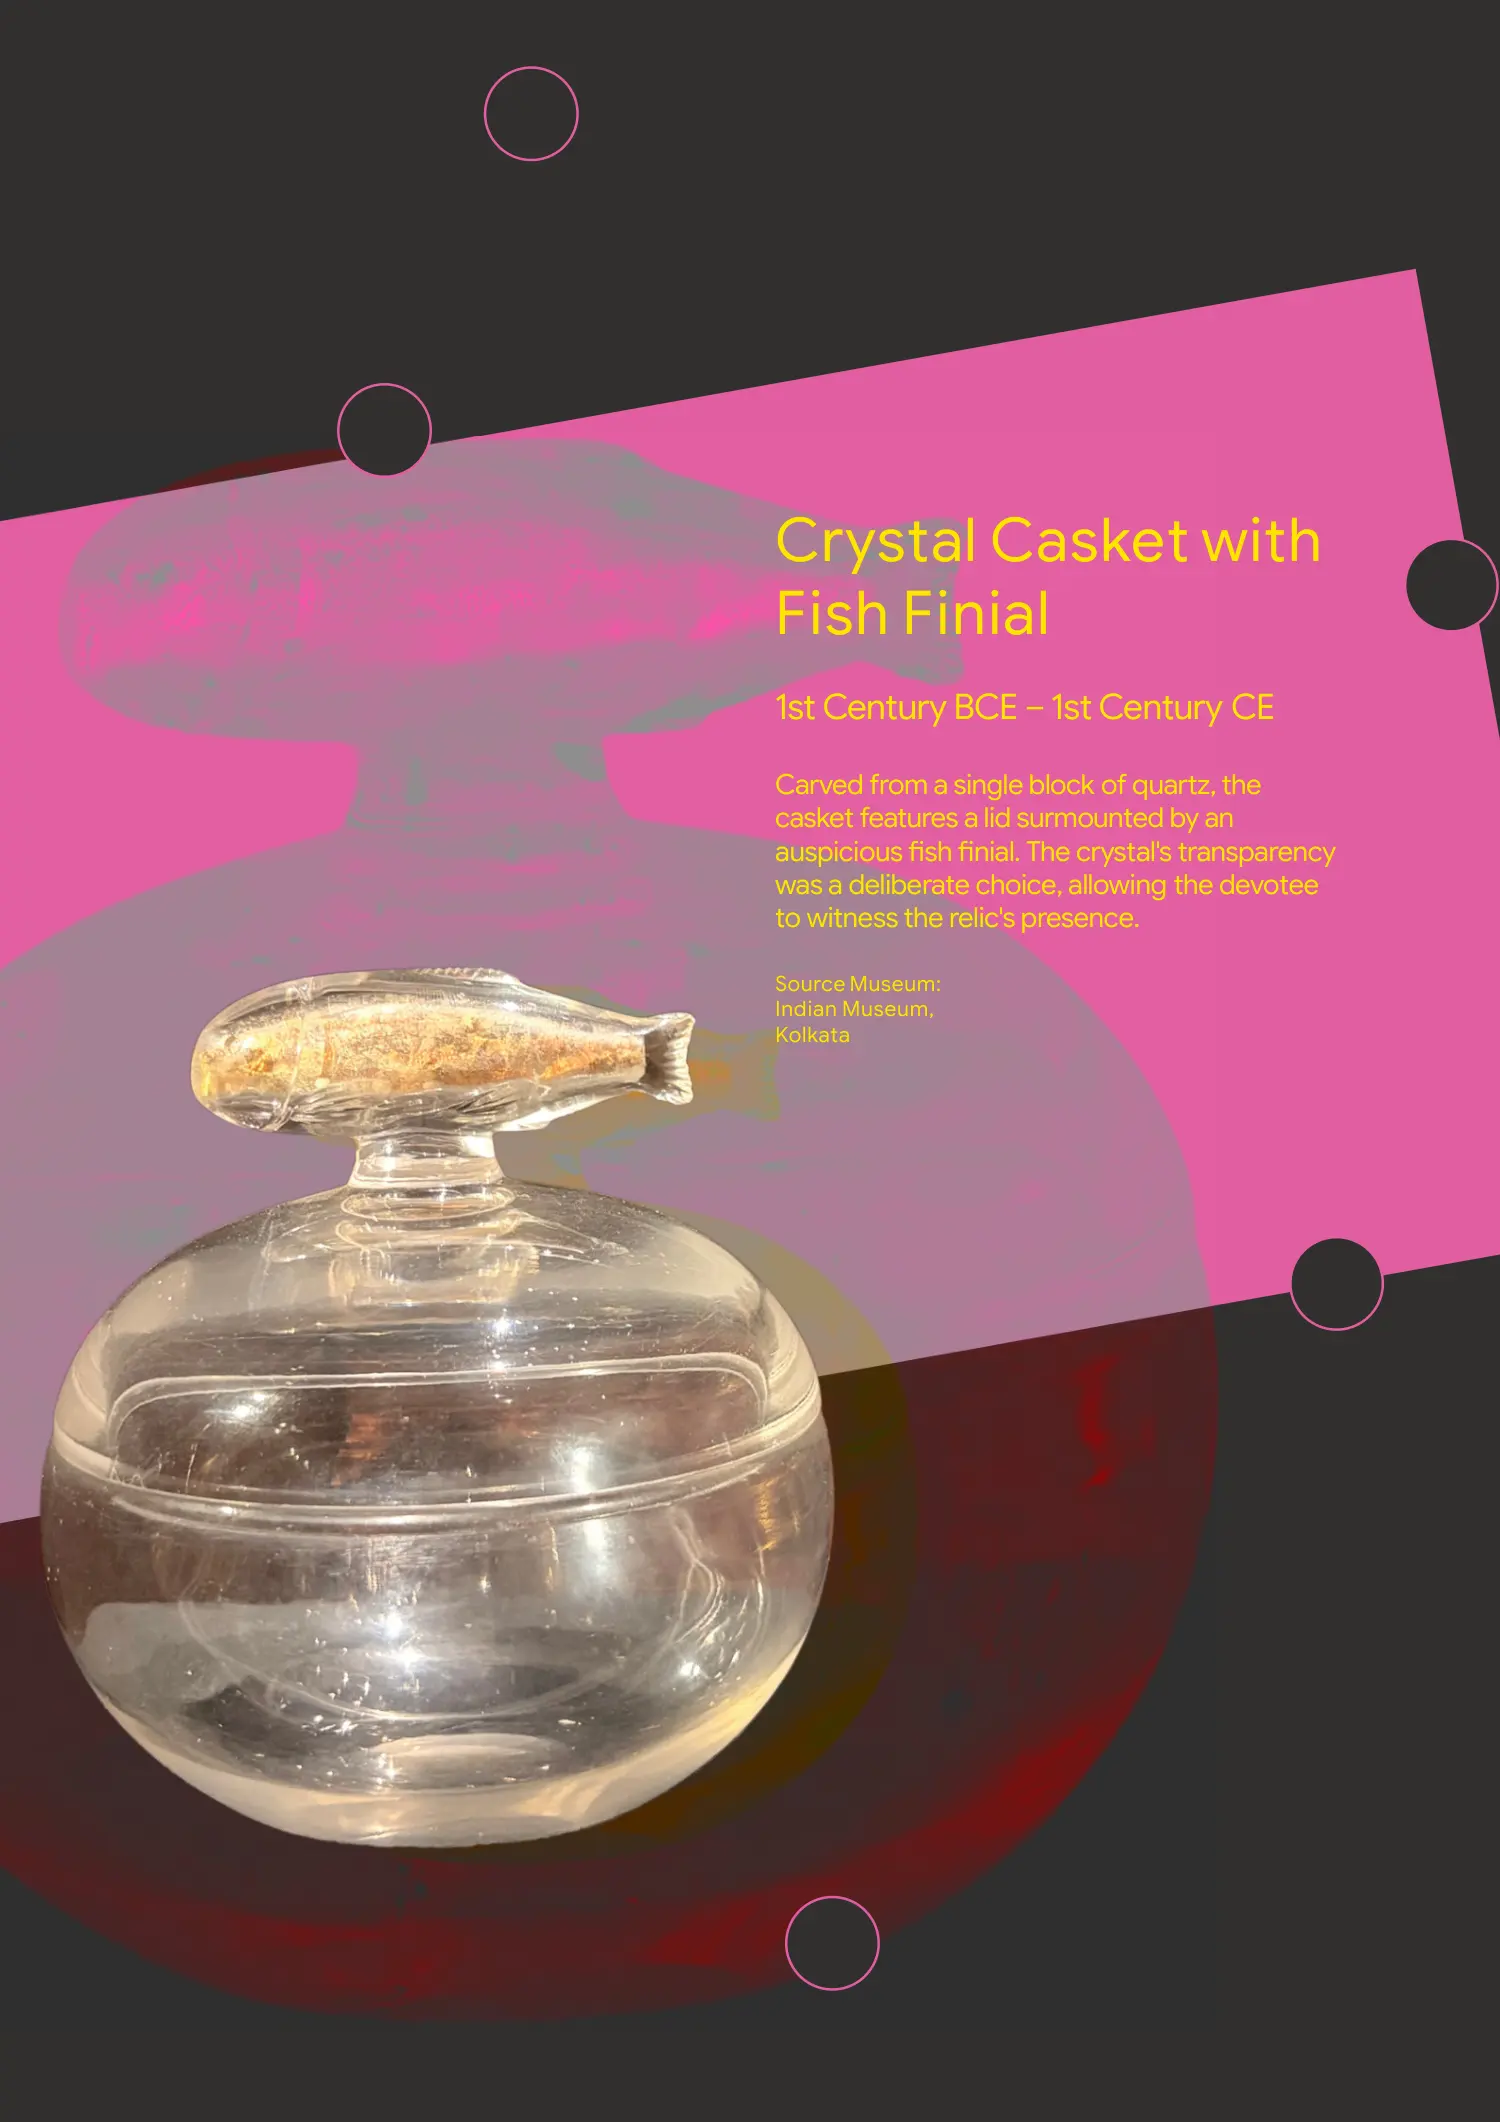
Crystal Casket with Fish Finial
1st Century BCE – 1st Century CE
Carved from a single block of quartz, the casket features a lid surmounted by an auspicious fish finial. The crystal's transparency was a deliberate choice, allowing the devotee to witness the relic's presence.
Source Museum: Indian Museum, Kolkata
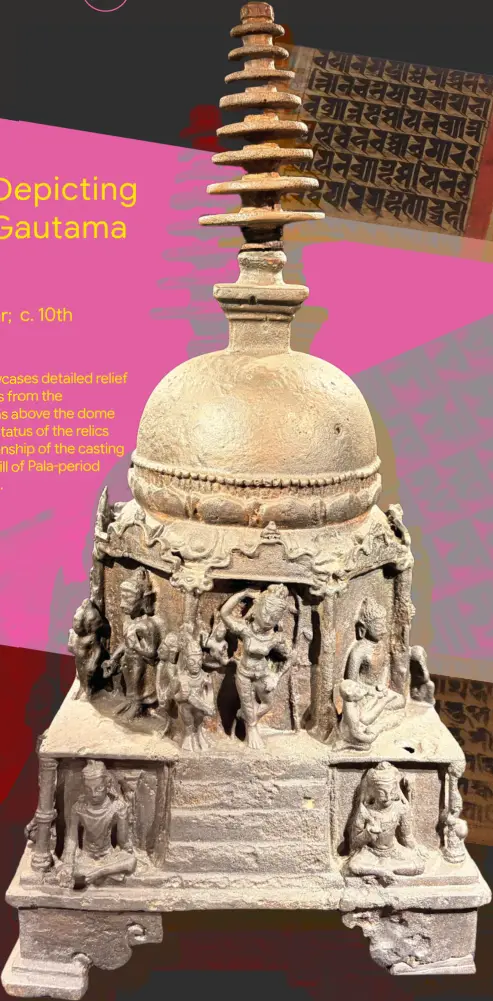
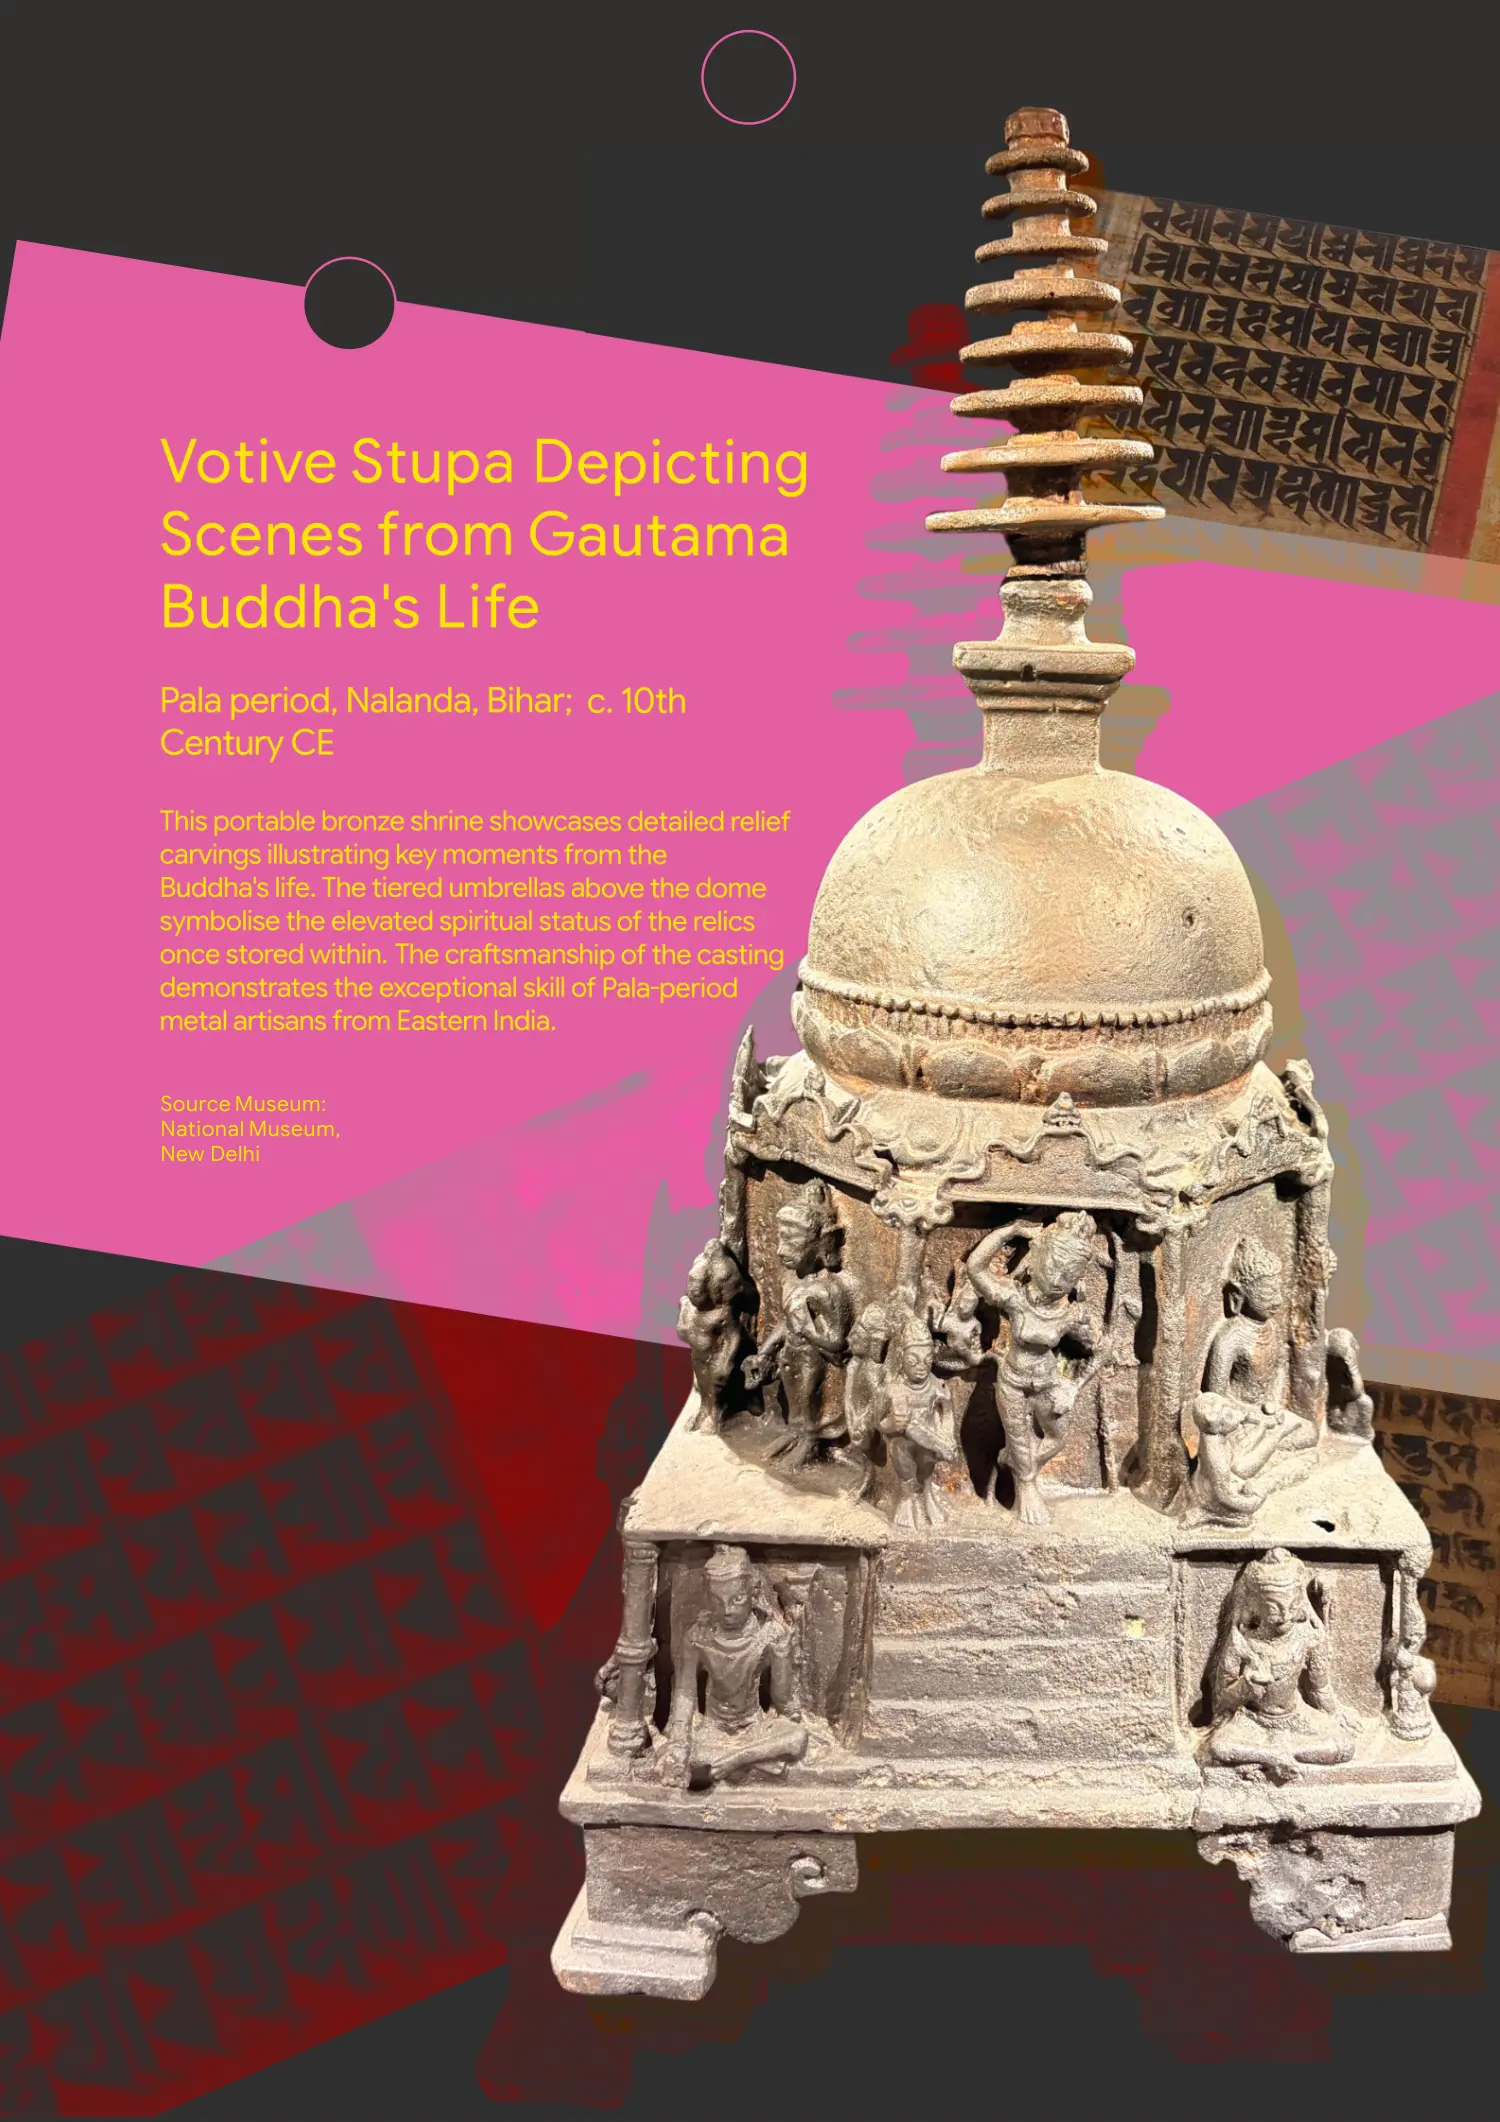
Votive Stupa Depicting Scenes from Gautama Buddha's Life
Pala period, Nalanda, Bihar; c. 10th Century CE
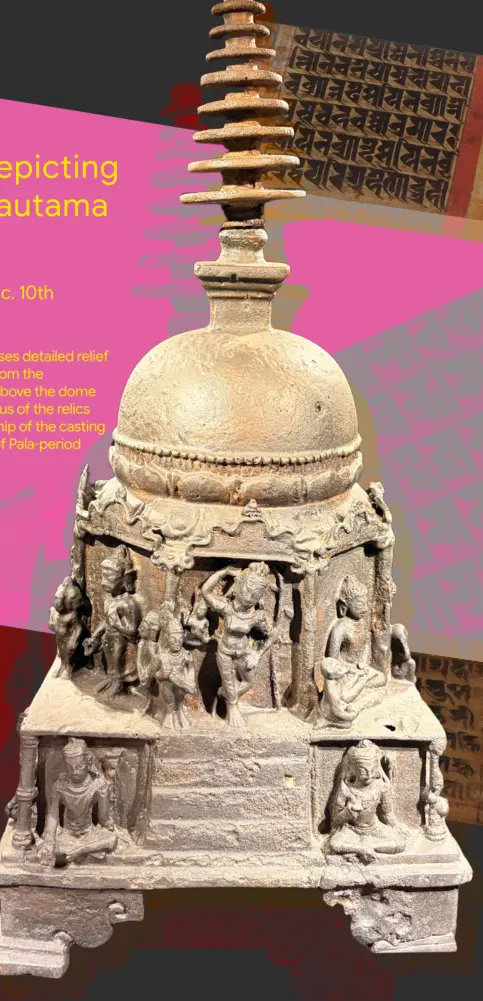
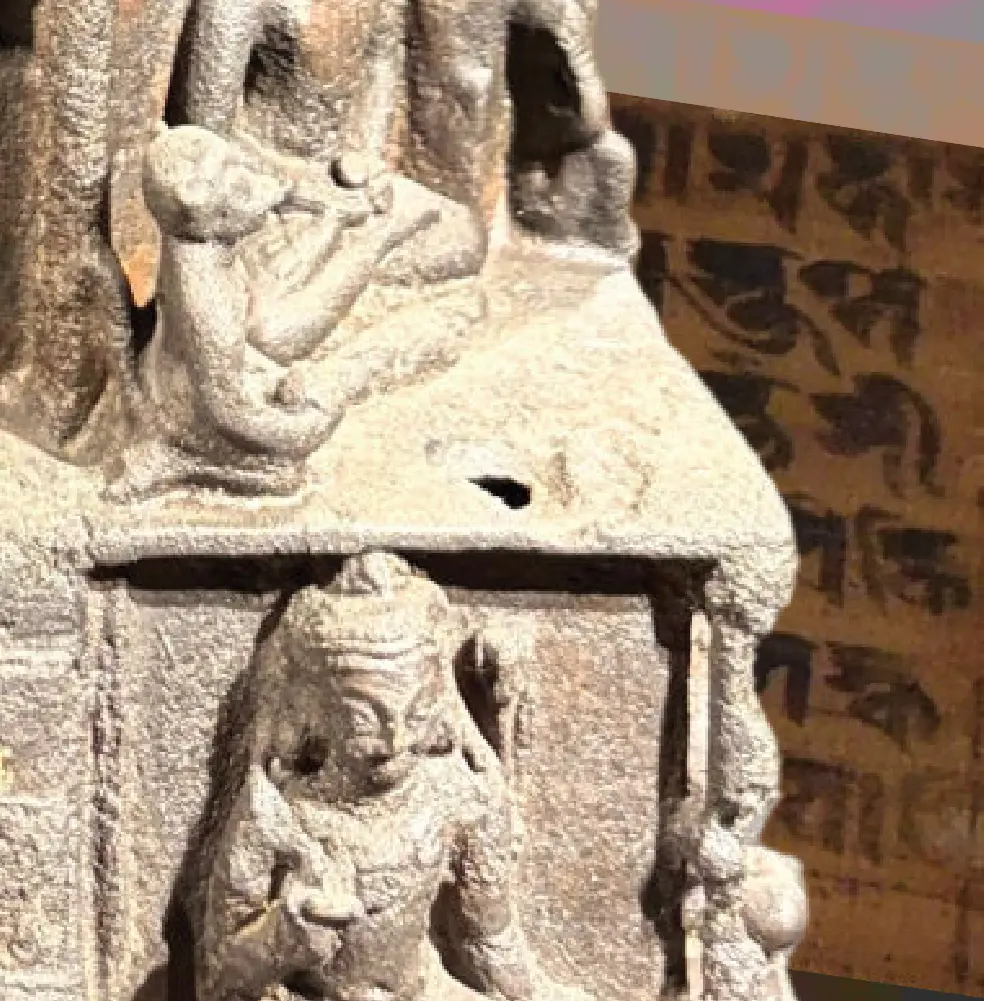
This portable bronze shrine showcases detailed relief carvings illustrating key moments from the Buddha's life. The tiered umbrellas above the dome symbolise the elevated spiritual status of the relics once stored within. The craftsmanship of the casting demonstrates the exceptional skill of Pala-period metal artisans from Eastern India.
Source Museum: National Museum, New Delhi
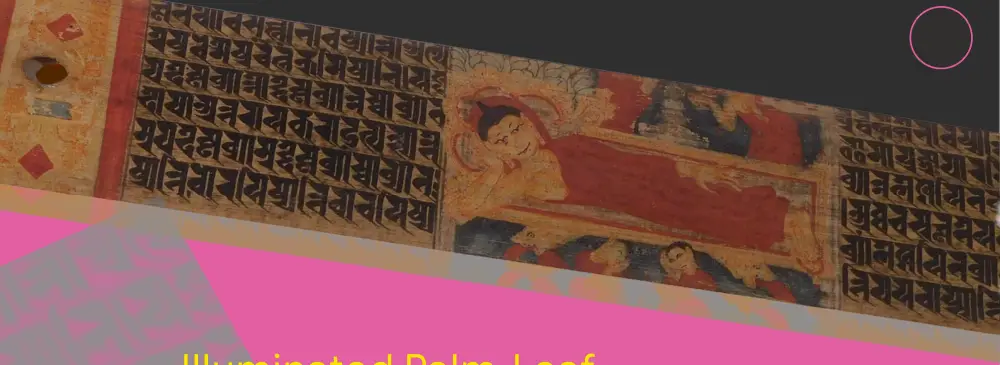
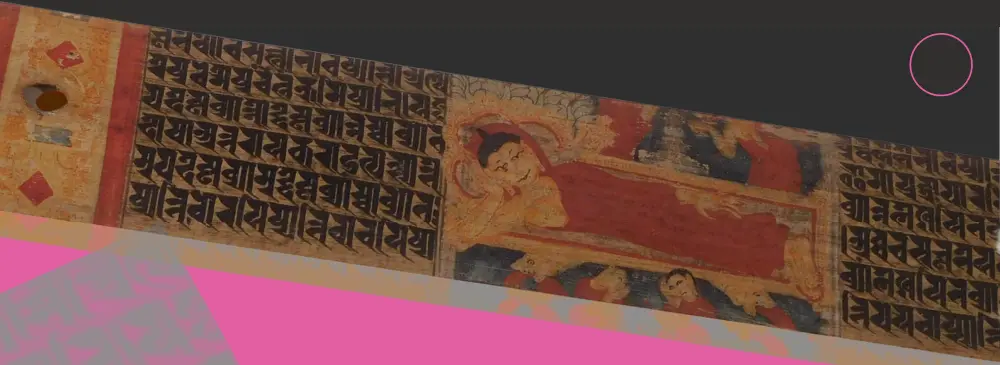
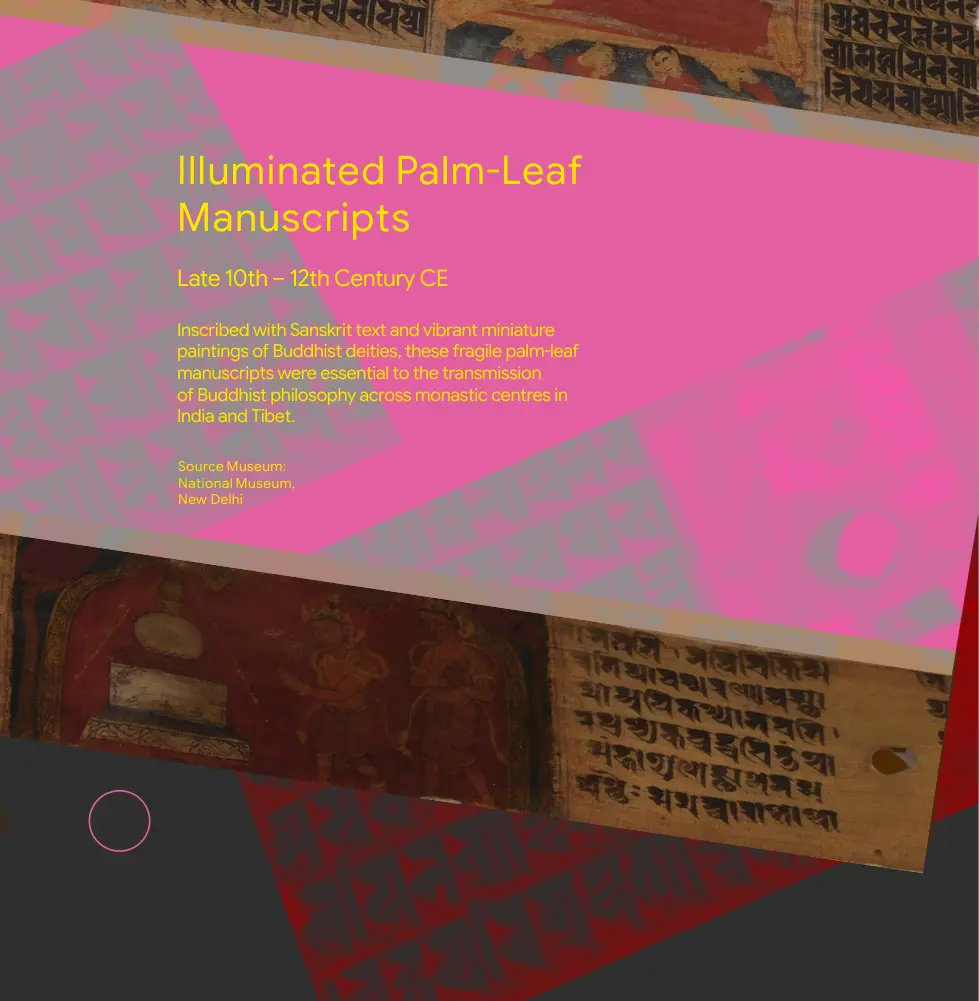
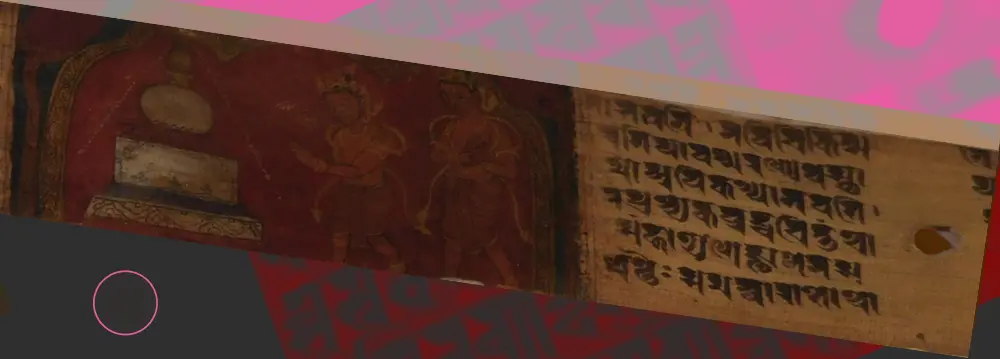
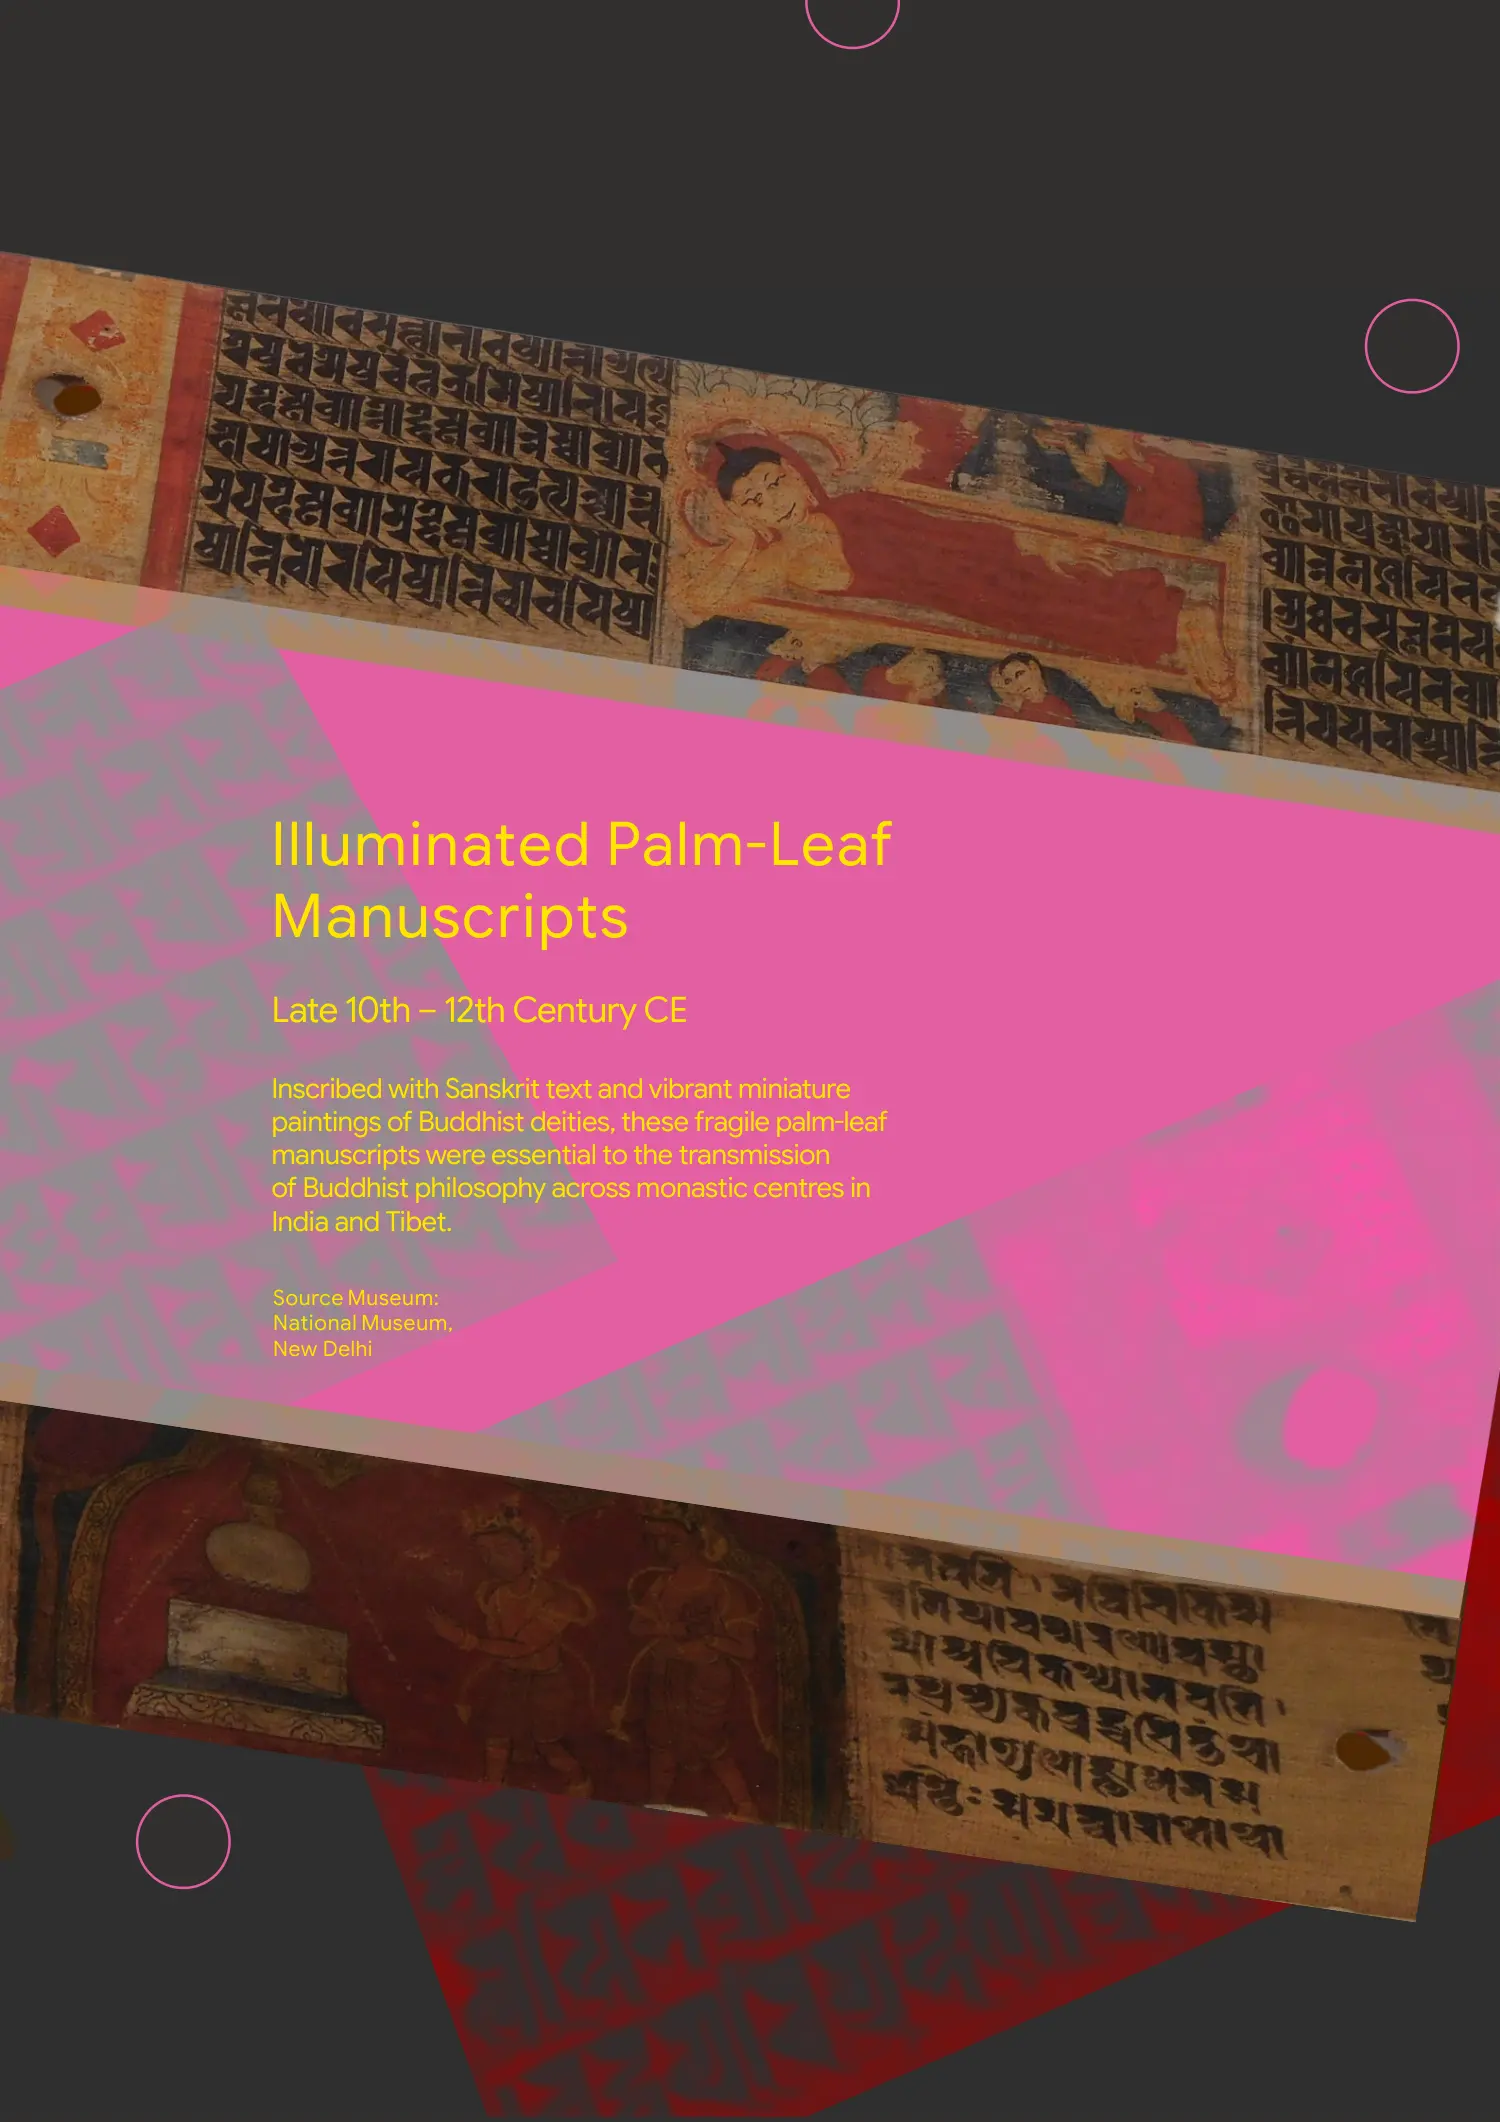
Illuminated Palm-Leaf Manuscripts
Late 10th – 12th Century CE
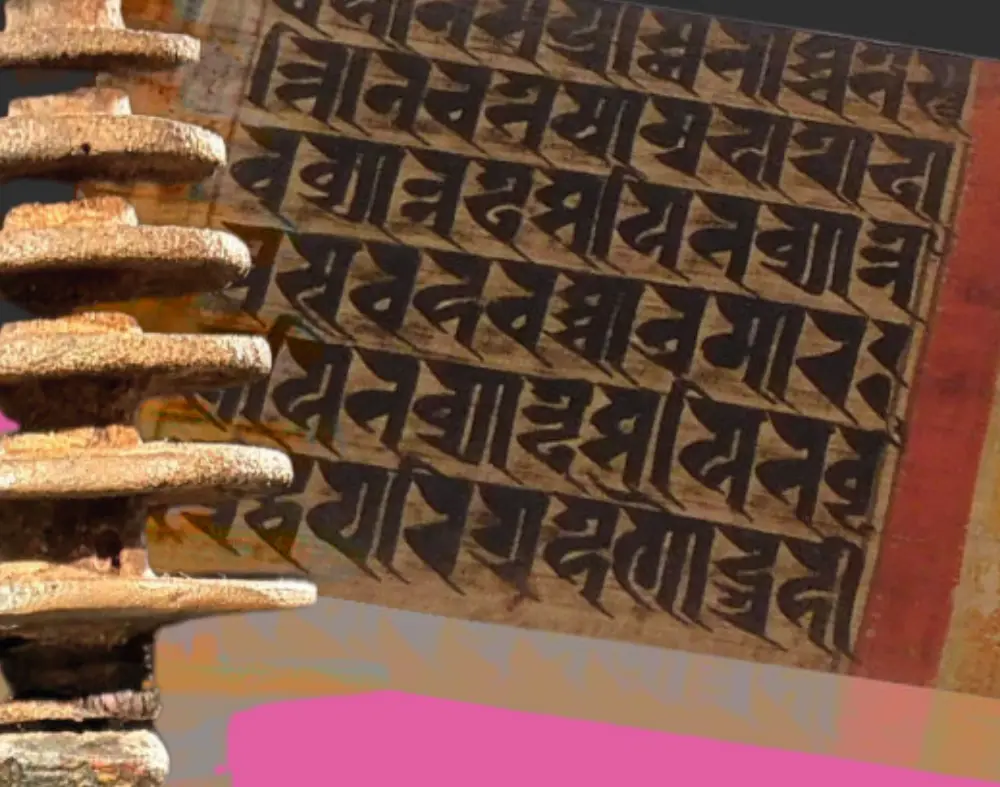
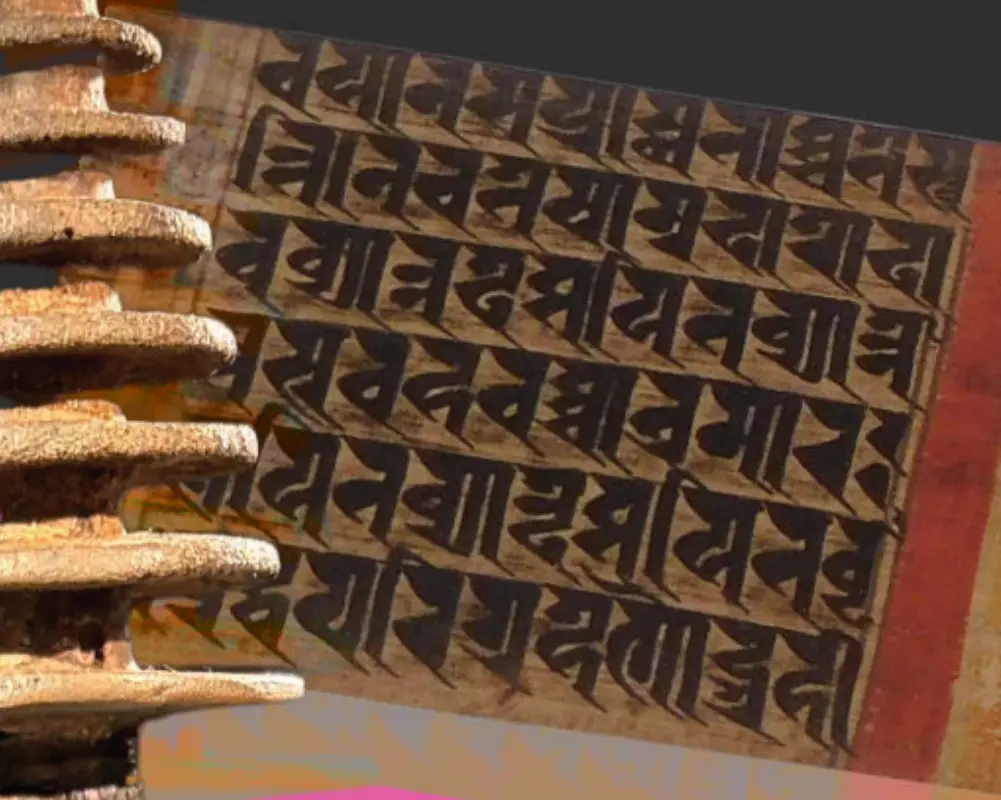
Inscribed with Sanskrit text and vibrant miniature paintings of Buddhist deities, these fragile palm-leaf manuscripts were essential to the transmission of Buddhist philosophy across monastic centres in India and Tibet.
Source Museum: National Museum, New Delhi
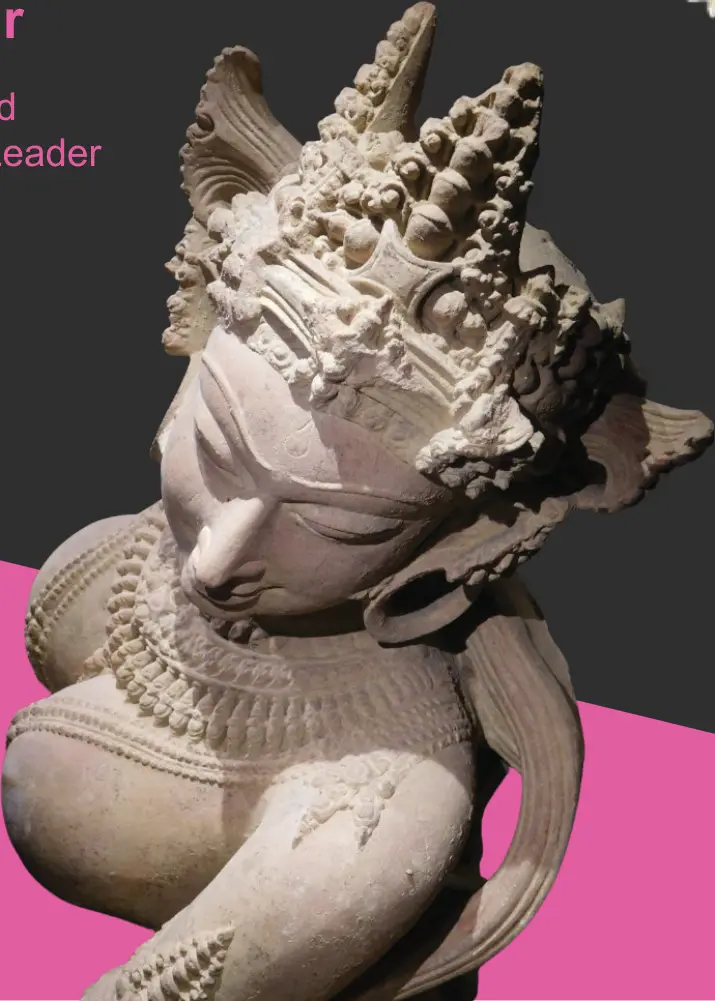
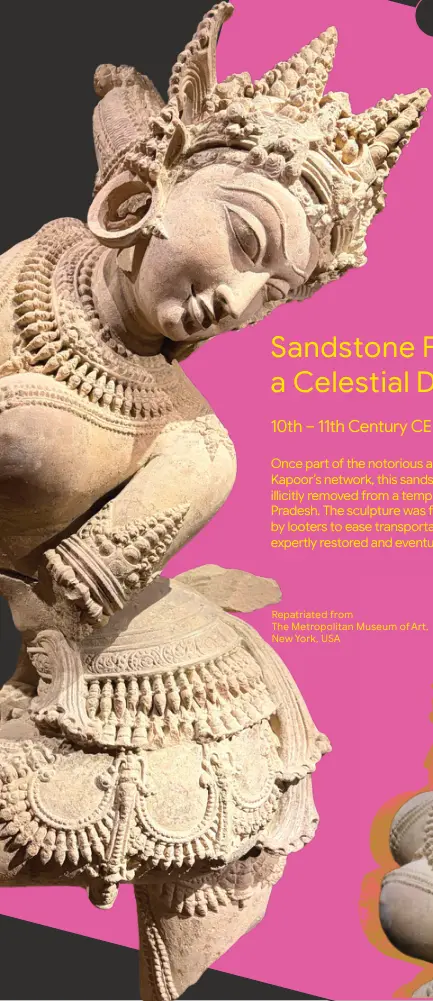
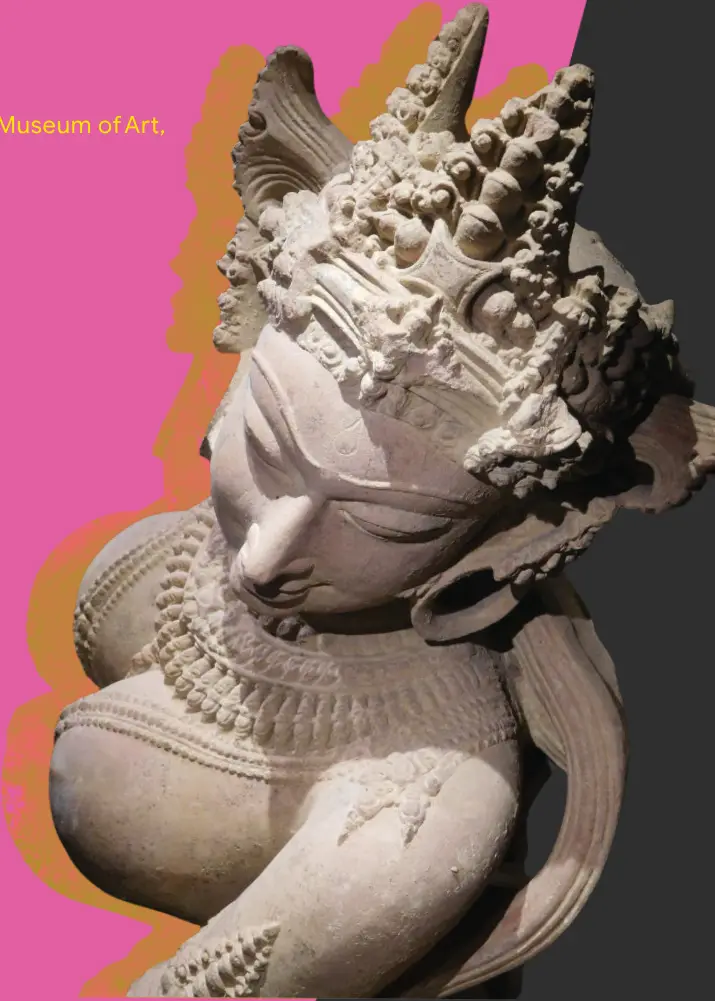
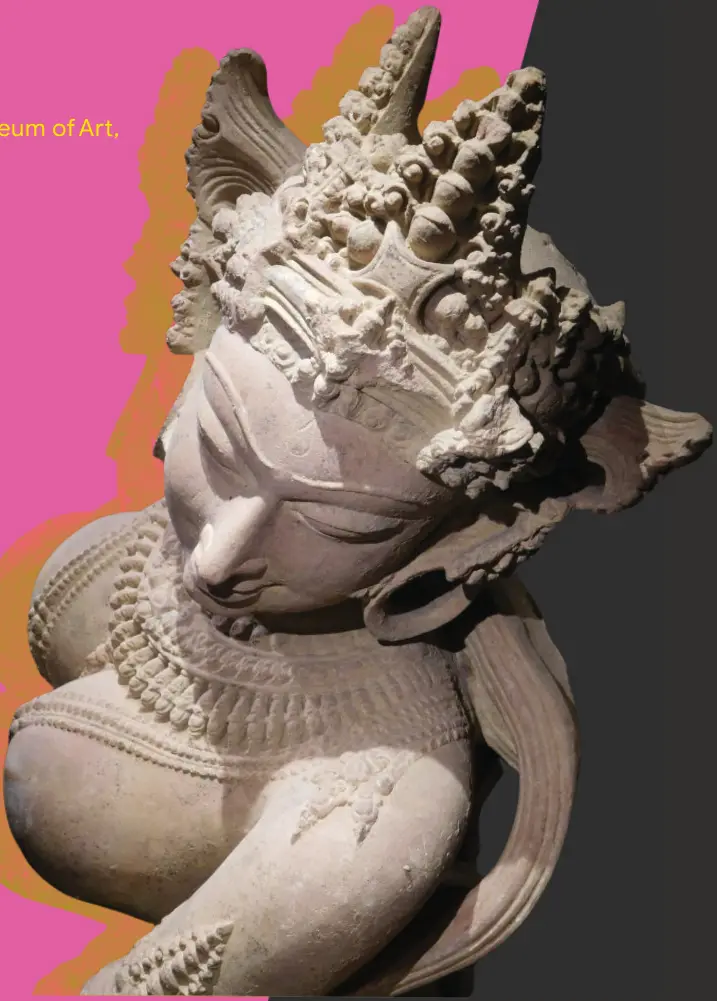
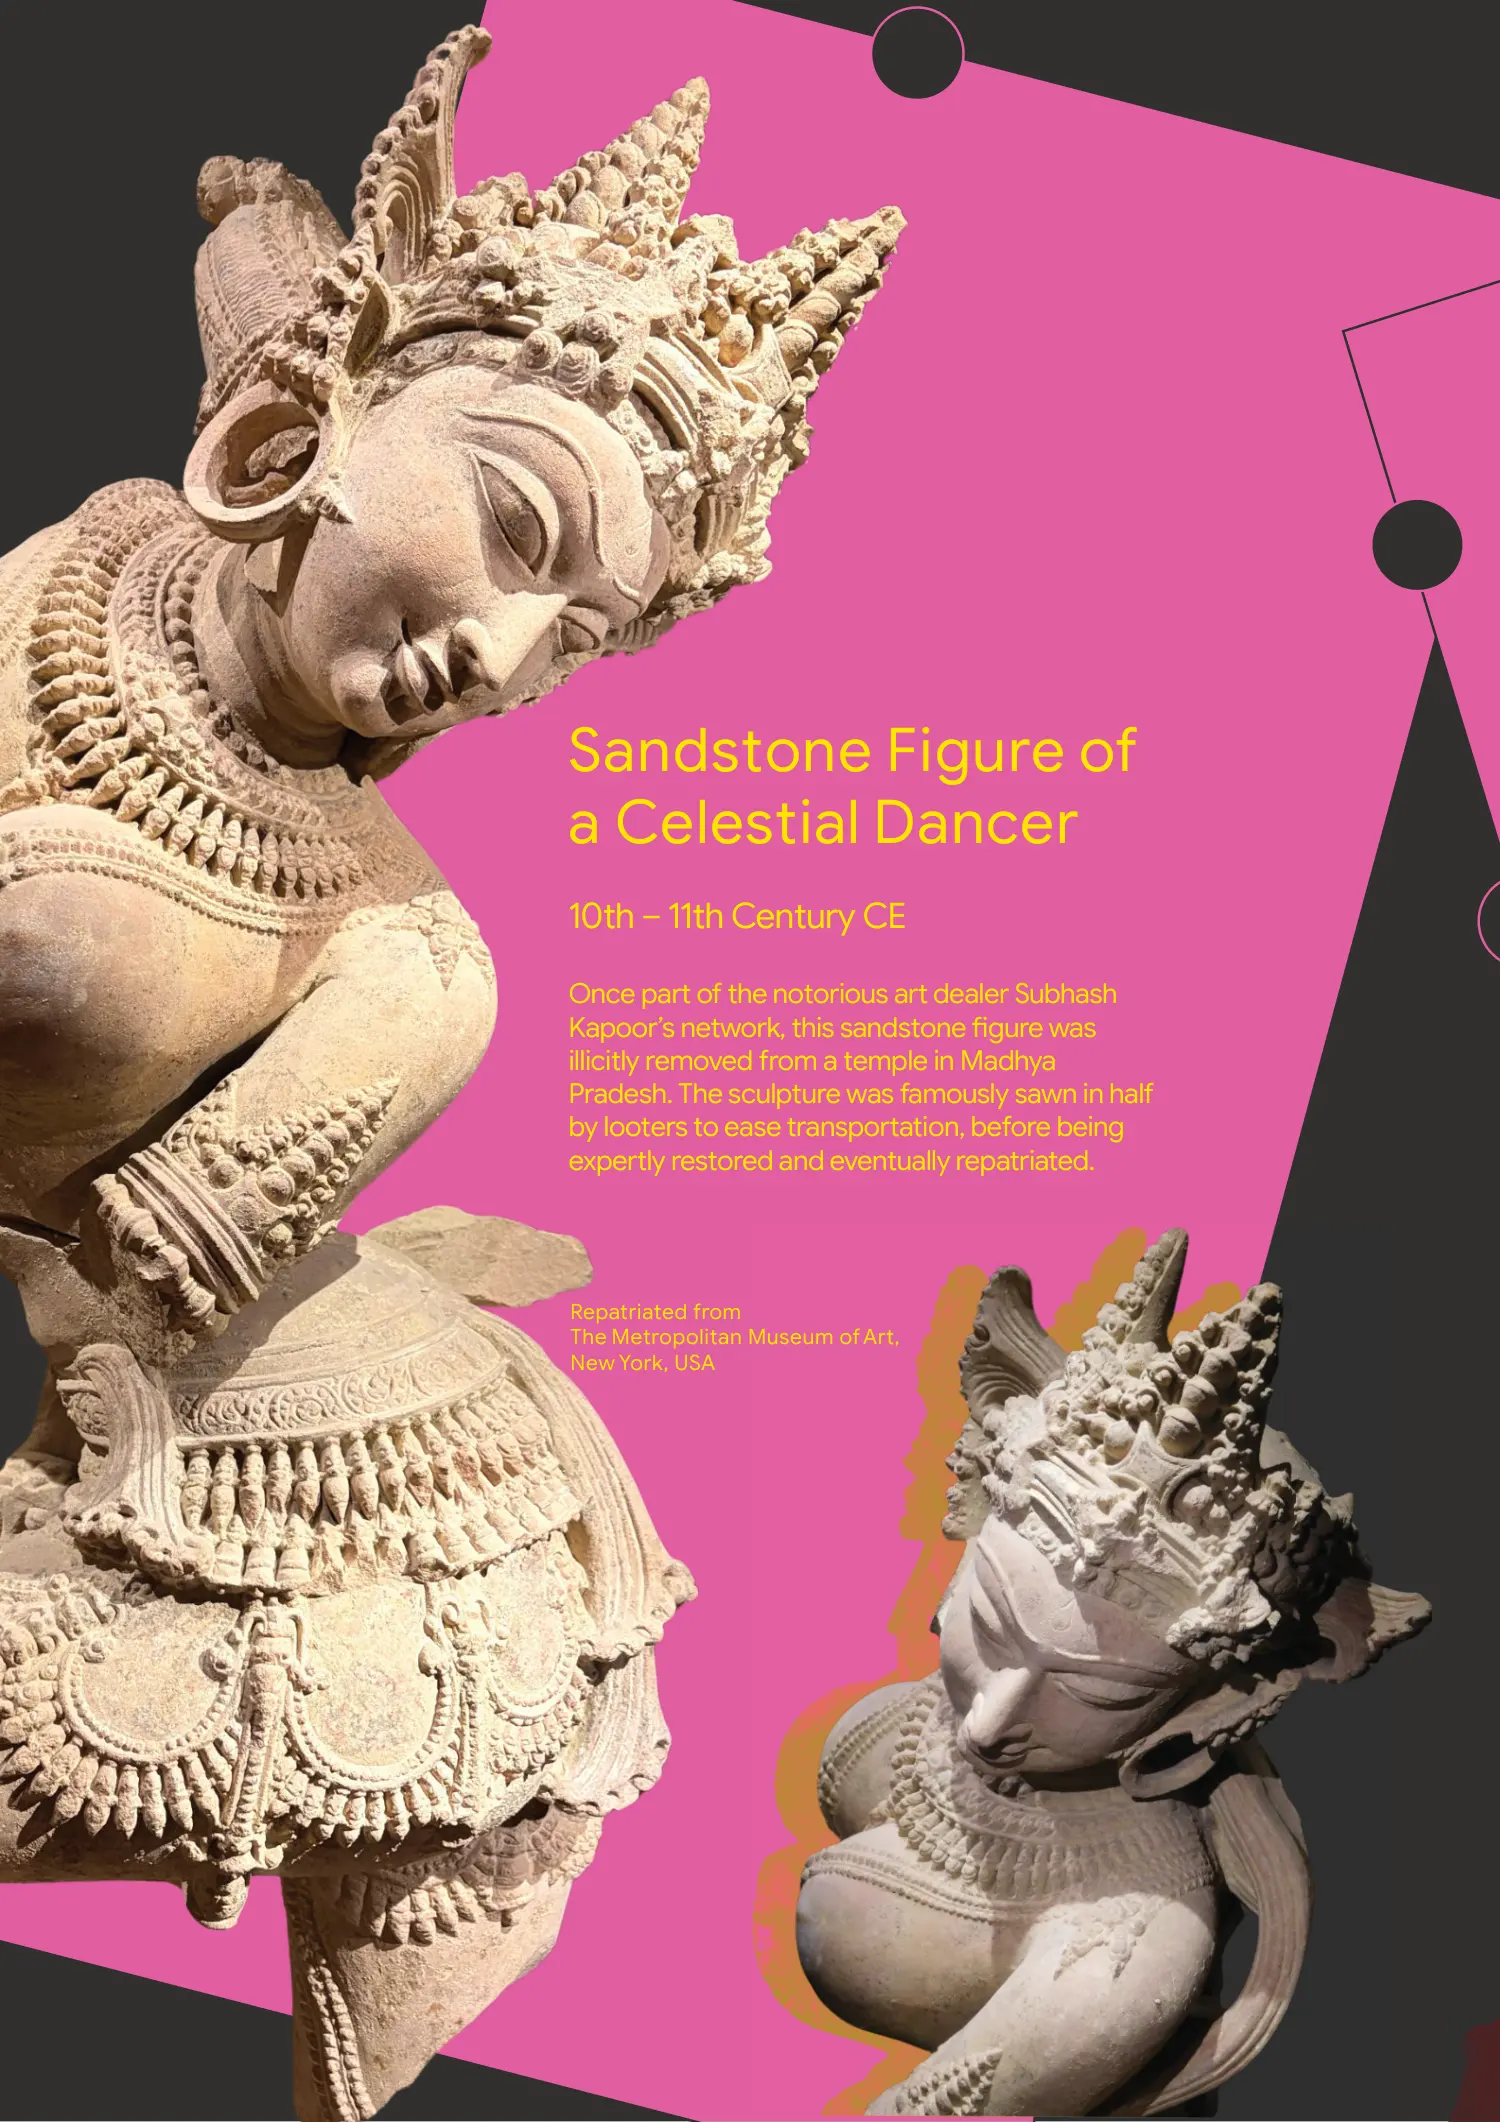
Sandstone Figure of a Celestial Dancer
10th – 11th Century CE
Once part of the notorious art dealer Subhash Kapoor’s network, this sandstone figure was illicitly removed from a temple in Madhya Pradesh. The sculpture was famously sawn in half by looters to ease transportation, before being expertly restored and eventually repatriated.
Repatriated from The Metropolitan Museum of Art, New York, USA
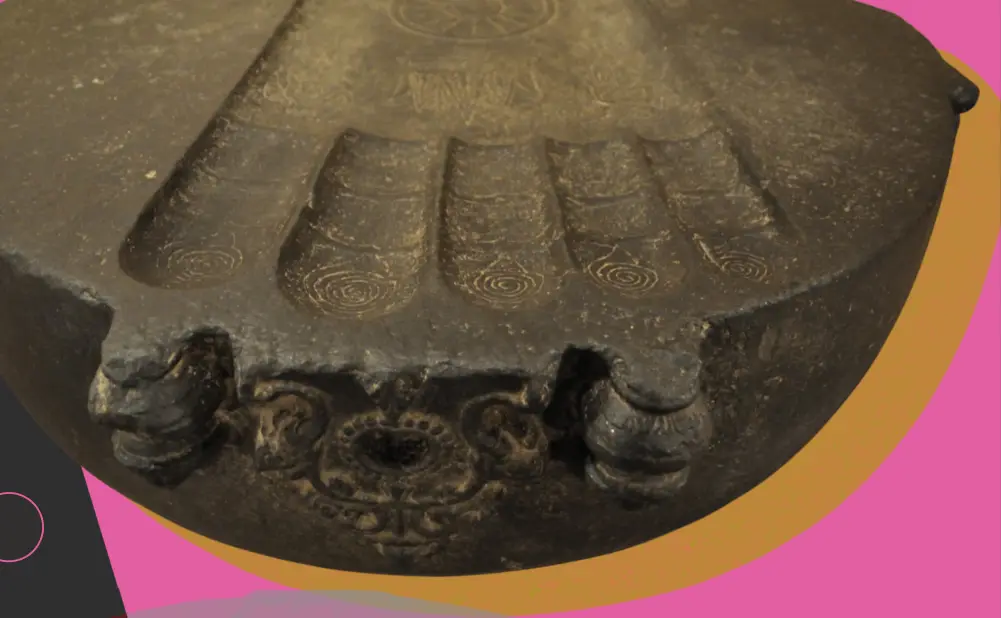
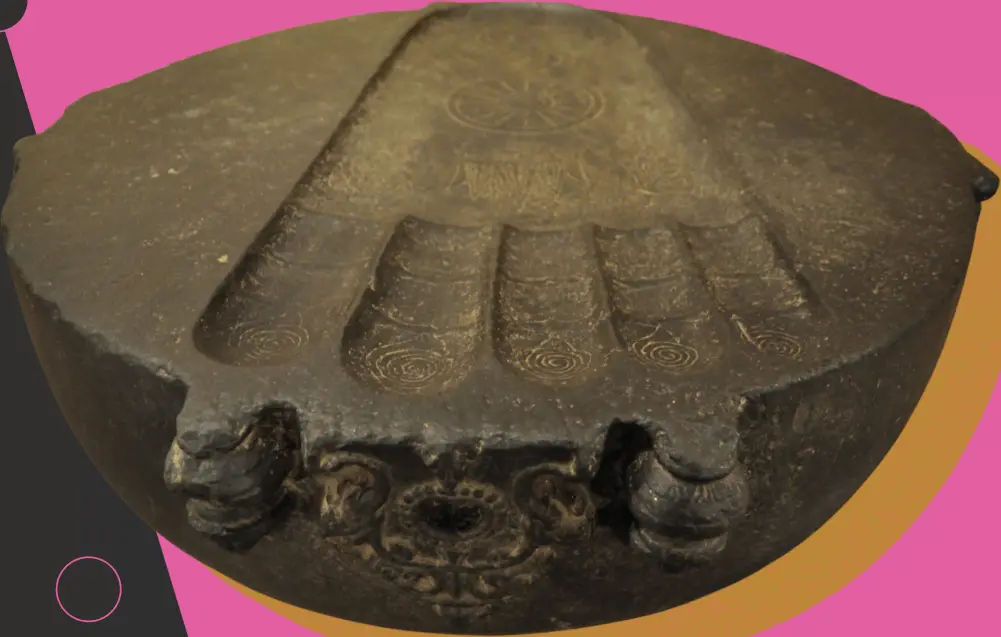
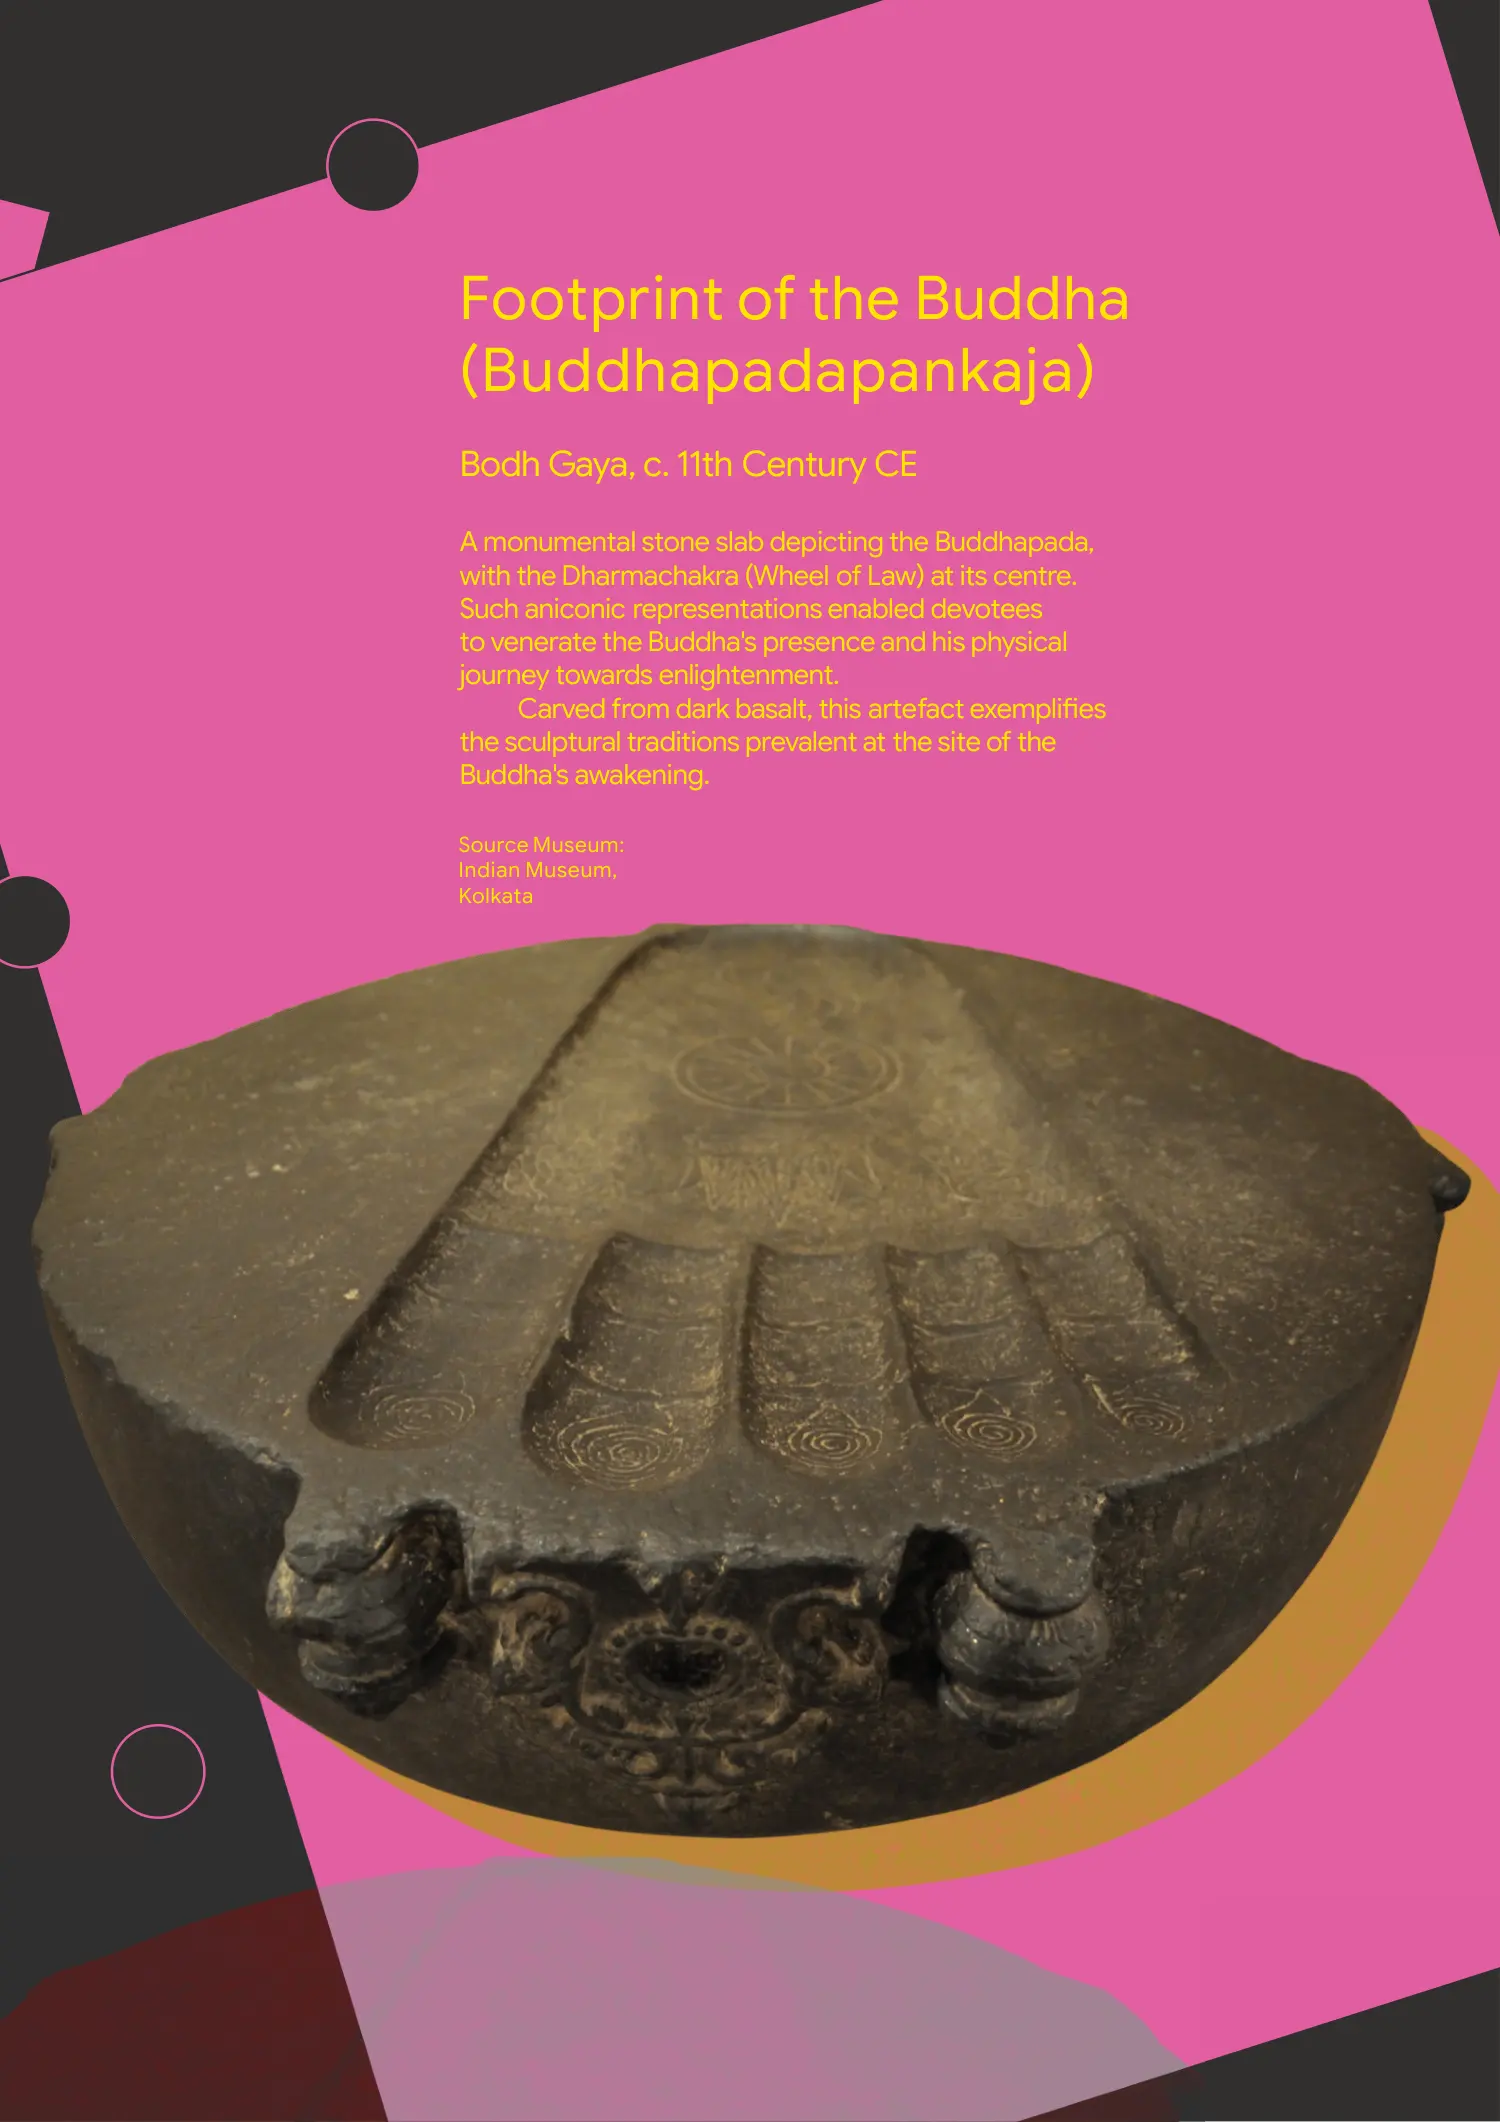
Footprint of the Buddha (Buddhapadapankaja)
Bodh Gaya, c. 11th Century CE
A monumental stone slab depicting the Buddhapada, with the Dharmachakra (Wheel of Law) at its centre. Such aniconic representations enabled devotees to venerate the Buddha's presence and his physical journey towards enlightenment.
Carved from dark basalt, this artefact exemplifies the sculptural traditions prevalent at the site of the Buddha's awakening.
Source Museum: Indian Museum, Kolkata

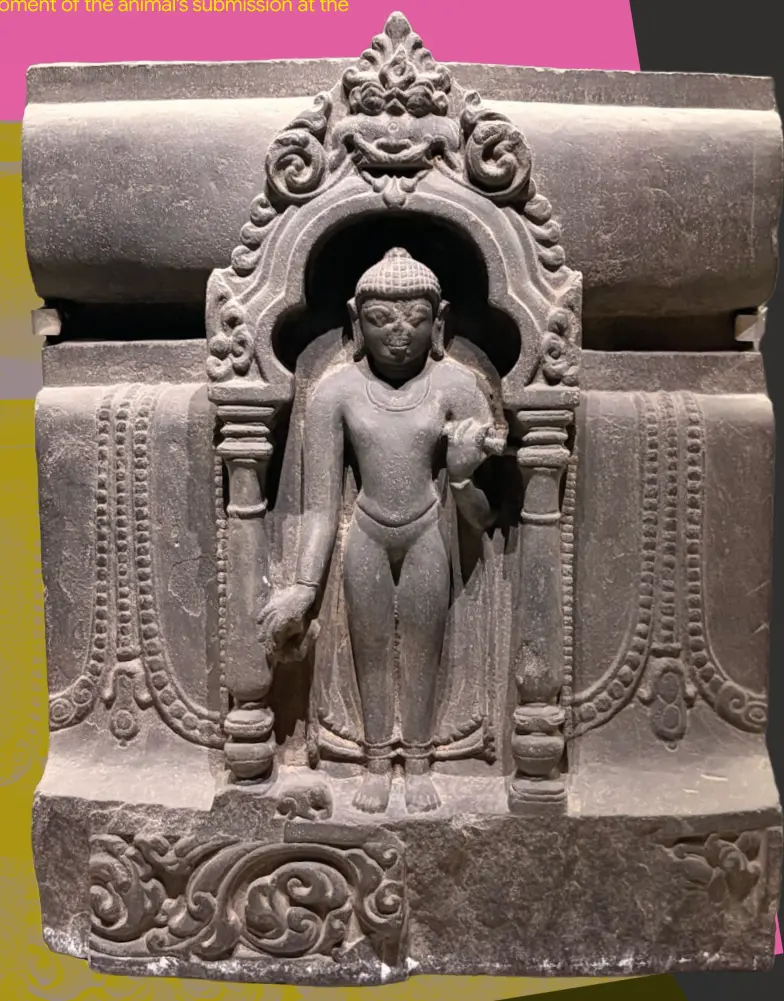
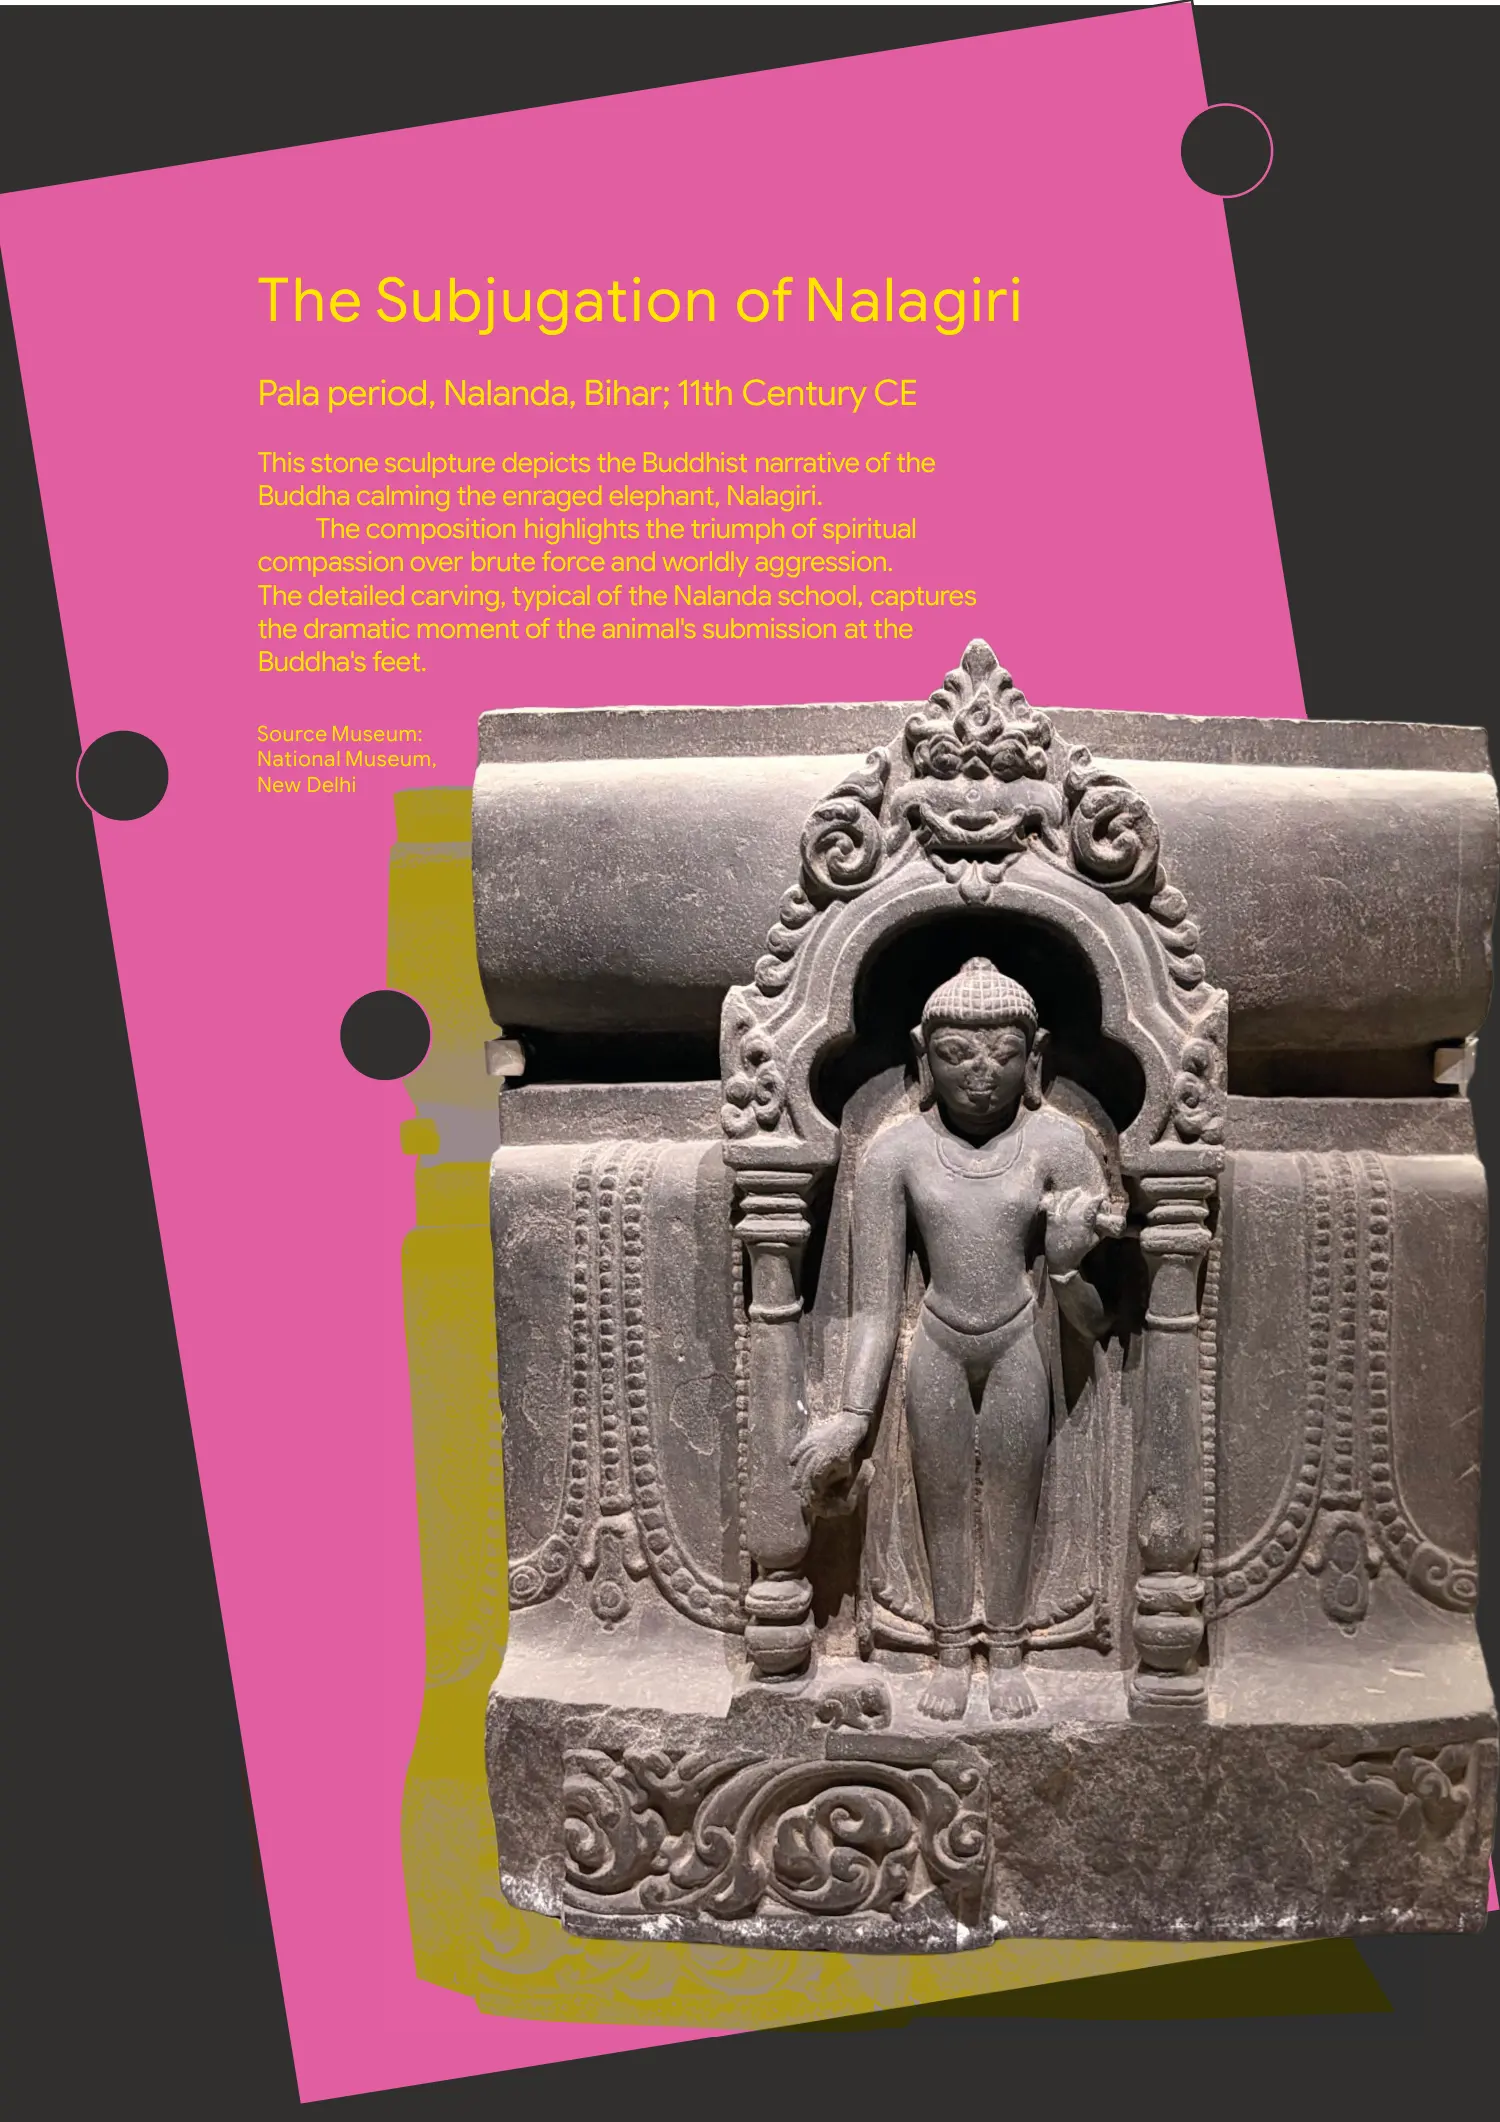
The Subjugation of Nalagiri
Pala period, Nalanda, Bihar; 11th Century CE
This stone sculpture depicts the Buddhist narrative of the Buddha calming the enraged elephant, Nalagiri.
The composition highlights the triumph of spiritual compassion over brute force and worldly aggression. The detailed carving, typical of the Nalanda school, captures the dramatic moment of the animal's submission at the Buddha's feet.
Source Museum: National Museum, New Delhi

View original pages, photographs & credits
Originally published in Museum Mosaic 2025, published May 2026.
Part of our annual review. Descriptions reflect the publication’s reporting period.